Why Is My Sourdough Dense? 10 Causes and Exactly How to Fix Each One
This post contains affiliate links. If you purchase through my links I may earn a small commission at no extra cost to you. I only recommend products I actually use and trust.
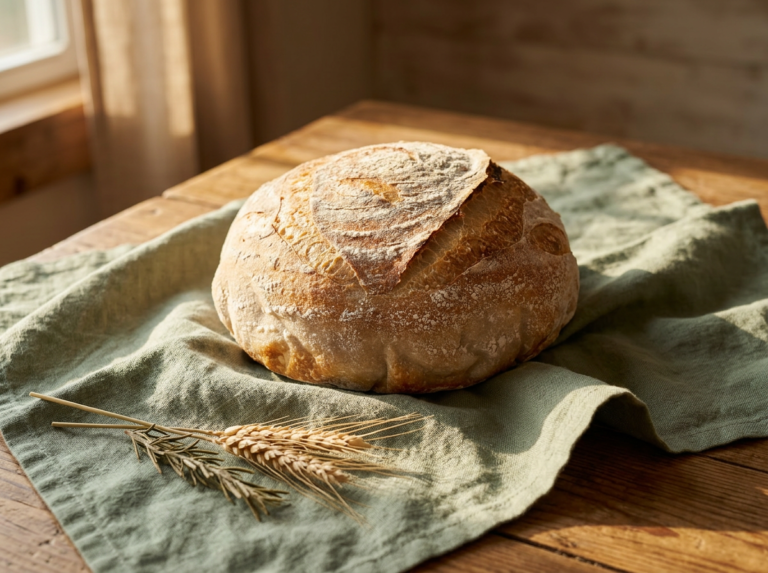
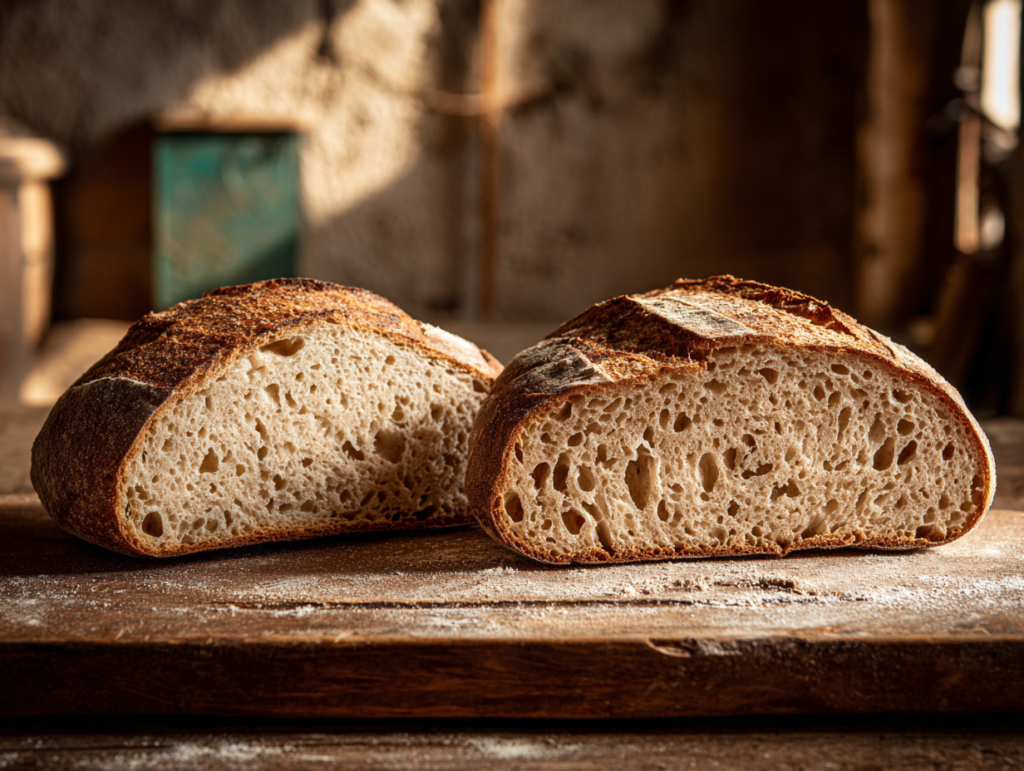
You pulled your sourdough out of the oven, tapped the bottom, and it sounded like a brick.
Again.
I have been there. More times than I care to admit. Standing in my kitchen holding a loaf that could genuinely double as a doorstop, trying to figure out what went wrong this time.
Here’s the honest truth: dense sourdough is the number one complaint from beginner bakers. And it’s almost never one catastrophic mistake. It’s usually one or two small things slightly off in your process — and once you find them, everything changes.
In this post I’m walking you through the 10 most common reasons sourdough comes out dense and exactly what to do about each one. By the time you’re done reading, you’ll know what went wrong in your last loaf. And the next one will be better.
Let’s get into it.
Is Dense Sourdough Normal for Beginners?
Yes. Completely normal. And it doesn’t mean you’re bad at this.
Sourdough is one of the most complex breads you can make. It involves a living culture, natural fermentation, gluten development, and baking science all working together at the same time. When one thing is slightly off, you feel it in the crumb.
The good news is that dense sourdough almost always comes down to the same handful of causes. I’ve made every single one of these mistakes myself — some of them multiple times. Once you understand what you’re looking for, you’ll start reading your dough instead of guessing at it.
That’s the whole goal here.
Cause #1: Your Starter Isn’t Active Enough
This is the first thing I check every single time a loaf doesn’t turn out right.
If your starter isn’t strong and active, your dough doesn’t have what it needs to rise. No activity means no gas. No gas means no lift. Dense, heavy loaf, every time.
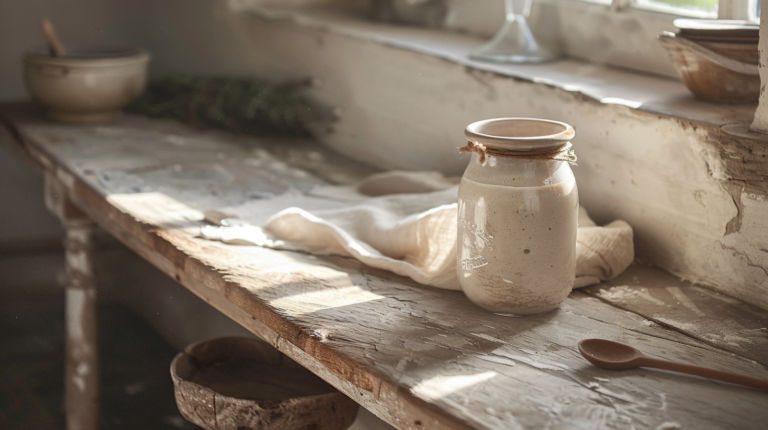
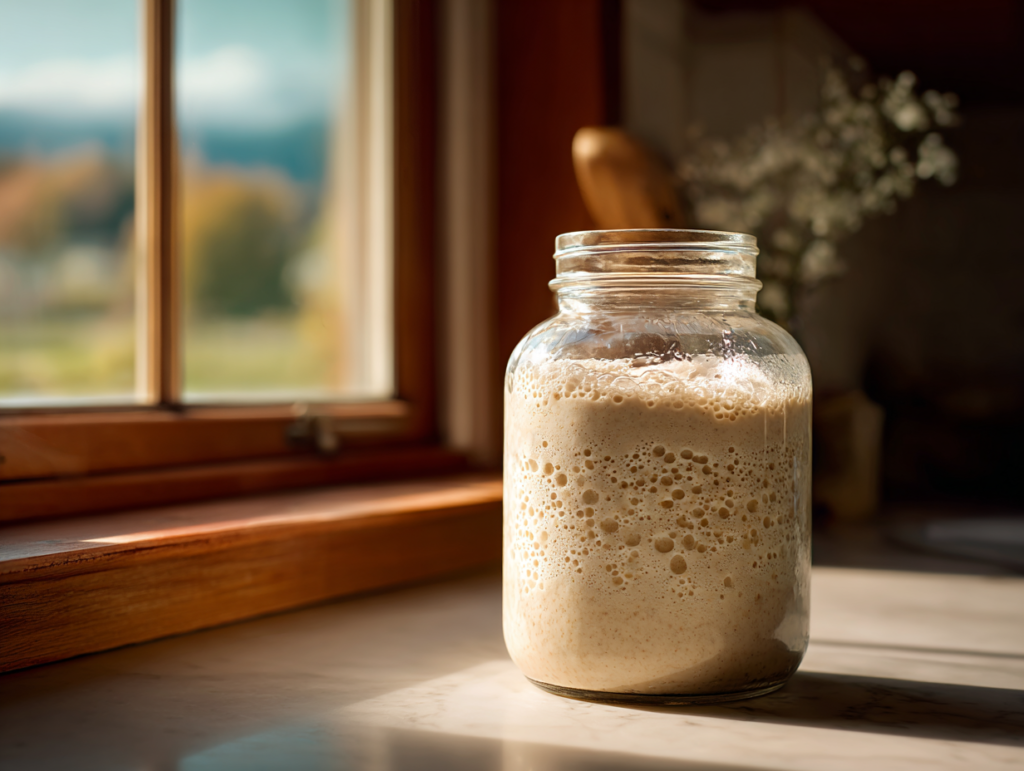
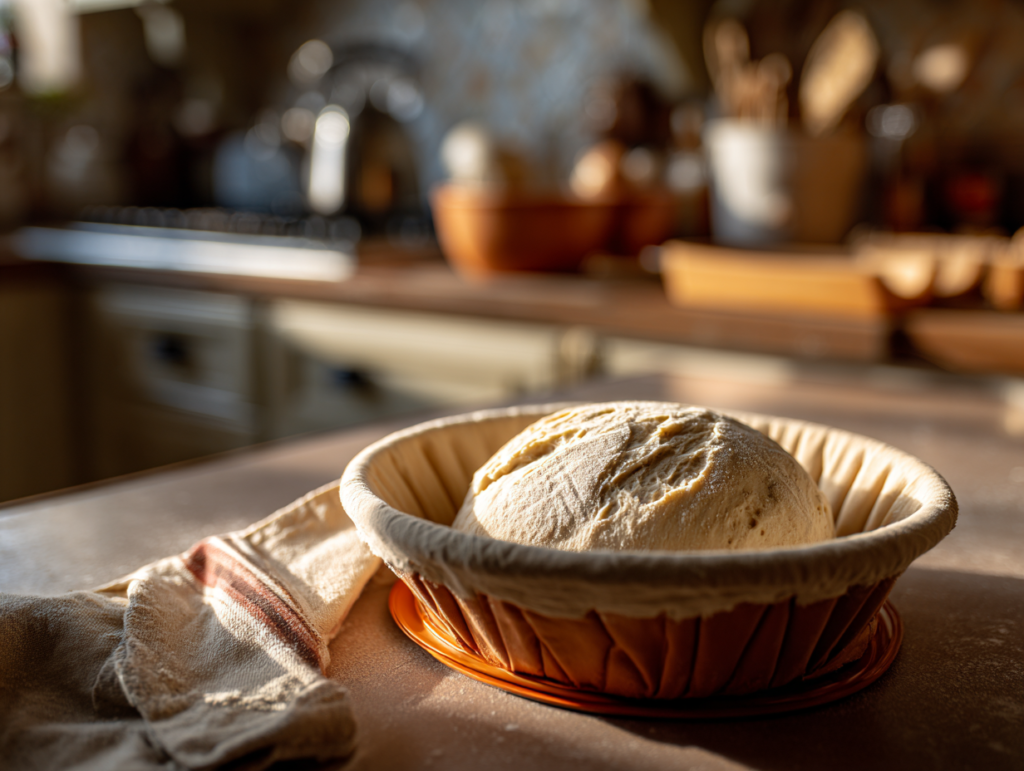
A healthy active starter should double in size within 4 to 8 hours of feeding at room temperature. It should look bubbly — not just on top but throughout — smell yeasty like beer or mild yogurt, and pass the float test. Drop a small spoonful into a glass of water. If it floats, it’s ready. If it sinks, give it more time.
The mistake I made constantly early on was using my starter too early. It was barely bubbling and I thought that was enough. It wasn’t. You want your starter at peak activity — that’s the moment right before it starts to fall back down. Use it too early and the dough won’t have enough power behind it. Use it too late and the yeast is exhausted.
Timing matters more than most beginner guides will tell you.
The fix: Feed your starter 4 to 8 hours before you plan to bake. Keep it somewhere warm — around 75 to 78°F is ideal. Don’t use it until it’s at least doubled and actively bubbly. If your kitchen runs cold, use the proof setting on your countertop oven or set your starter jar on a warming plate to keep the temperature consistent.
Read this post for the full checklist of signs your starter is ready.
Cause #2: Underproofed Dough
Underproofing is the most common cause of dense sourdough after a weak starter — and it’s sneaky because your dough can look like it’s risen without actually being ready.
Underproofed dough hasn’t had enough time to ferment fully. The gluten structure is too tight, the gas bubbles are too small, and the whole loaf collapses in the oven instead of springing up.
The way I check it is simple. I look at it. If it’s doubled in size, it’s ready. That’s it. No poking, no prodding, no overthinking it.
I use the measurement markings on my starter jar to track the rise — same principle works for dough in a straight-sided bowl or container. You can see exactly where it started and exactly where it is now. When it’s doubled, you move on.
Here’s something nobody talks about enough: temperature drives fermentation speed more than anything else. My ranch kitchen runs cold in winter — around 65°F — which means fermentation takes significantly longer than a recipe written for a 75°F kitchen. I don’t fight it. I use the proof setting on my Breville countertop oven or set the dough on my warming plate at 80°F to keep things moving along consistently. It’s how I get sourdough done in a single day without babysitting it.
Always go by how your dough looks and feels — not the clock on the recipe.
The fix: Wait for your dough to double in size during bulk fermentation. Use a straight-sided bowl or container so you can actually see the rise clearly. If your kitchen runs cold, use a proof setting or warming plate rather than waiting hours for the dough to do what it needs to do at room temperature.
Cause #3: Overproofed Dough
The opposite problem. Same result.
When dough overproofs, the yeast has eaten through most of the available sugars, the gluten structure gets weak and slack, and those gas bubbles you worked to create start collapsing. The dough loses its structure and can’t hold its shape in the oven.
Overproofed dough feels very soft and almost pillowy. When you score it, it might deflate noticeably rather than holding its shape. In the oven, instead of that dramatic rise in the first 15 minutes, it just sits there.
This happened to me when I first started doing overnight proofs. I’d leave the dough in the fridge for 16 hours thinking more time meant better bread. Sometimes it does. Other times — especially if the dough was already well along before it went in — it’s too much.
The fix: For a cold proof, 8 to 12 hours is a solid starting point. Bake straight from the fridge — cold dough holds its shape better going into the oven and gives you better oven spring. And if you’re using a proof setting or warming plate for bulk fermentation, watch the dough rather than setting a timer and walking away.
Cause #4: Wrong Flour
This one surprised me when I first learned it.
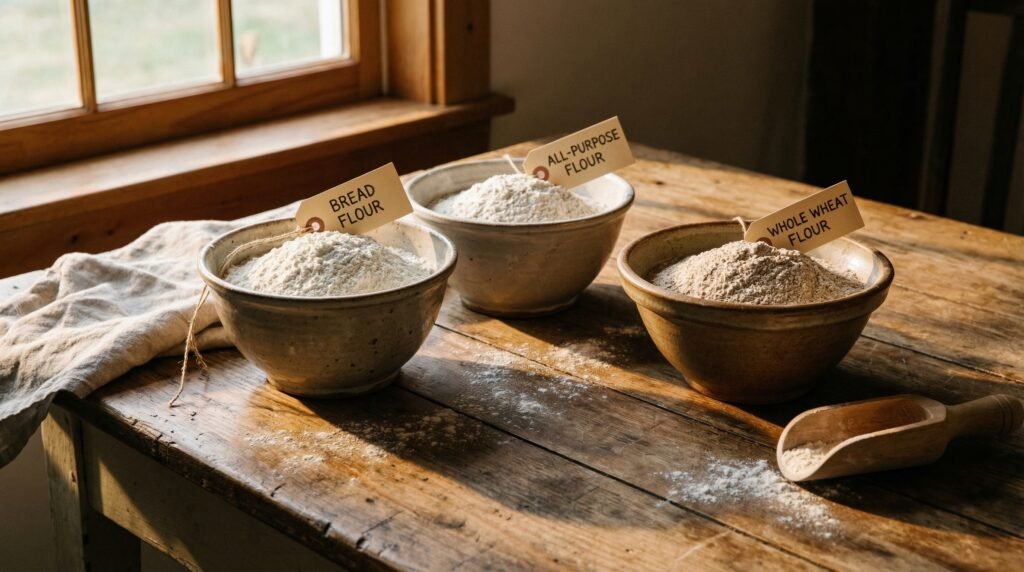
Not all flour works the same way in sourdough. All-purpose flour with lower protein content — around 10 to 11 percent — produces less gluten development than bread flour, which runs 12 to 14 percent protein. Less gluten means less structure to trap gas bubbles. Less structure means a denser loaf.
Whole wheat flour is even more complicated. It’s packed with bran and germ particles that actually cut gluten strands as they form. A 100 percent whole wheat sourdough is notoriously dense — which is why most recipes that use whole wheat blend it with bread flour.
I learned this the hard way. I decided to make a “healthier” loaf with all whole wheat flour and ended up with something that genuinely resembled a hockey puck. The horses were not impressed either.
Bleached flour is also a problem. The bleaching process can inhibit the wild yeast in your dough. I use unbleached bread flour — King Arthur Unbleached Bread Flour is my go-to — and I don’t mess with that.
The fix: Use unbleached bread flour as your base. Always unbleached — this one actually matters. If you want whole wheat for flavor, keep it at 20 to 30 percent of the total flour weight and adjust your water down slightly. And check your flour freshness — old flour has degraded protein content, which means weaker gluten no matter how perfectly you do everything else.
Cause #5: Skipping Gluten Development
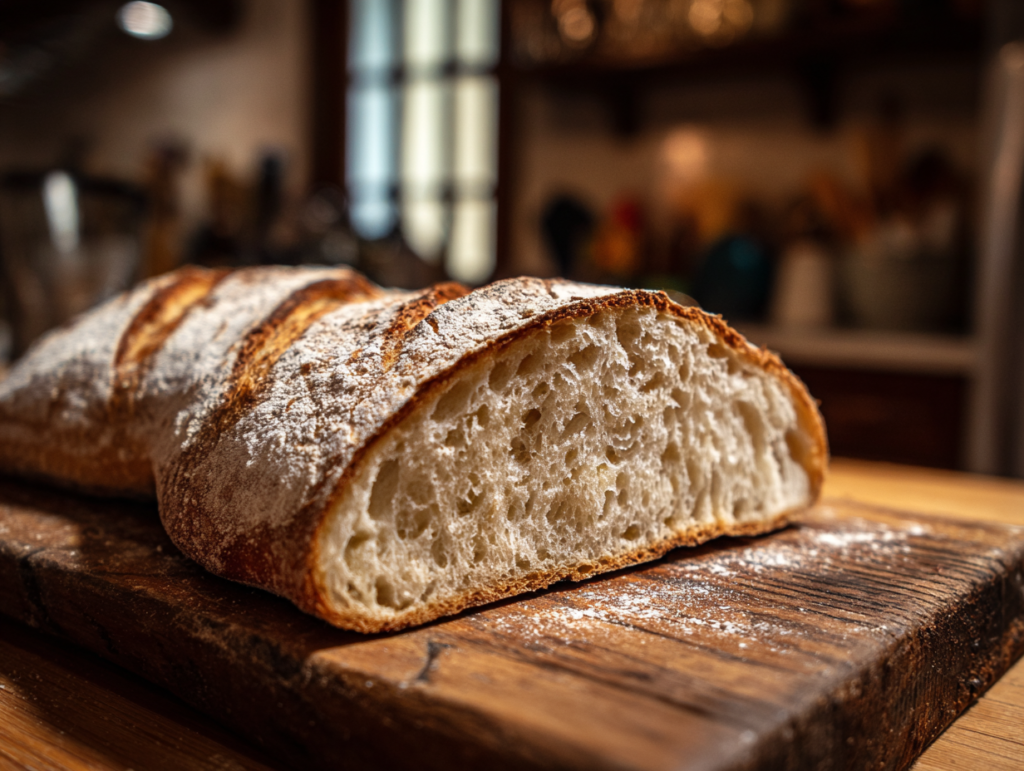
Gluten is the network of proteins that gives your bread structure. It traps the gas produced by your starter and holds everything together during baking, allowing the bread to rise and hold its shape. Skip gluten development and your dough simply can’t hold the bubbles that create an open crumb.
Here’s where I do things differently than most sourdough content you’ll find online.
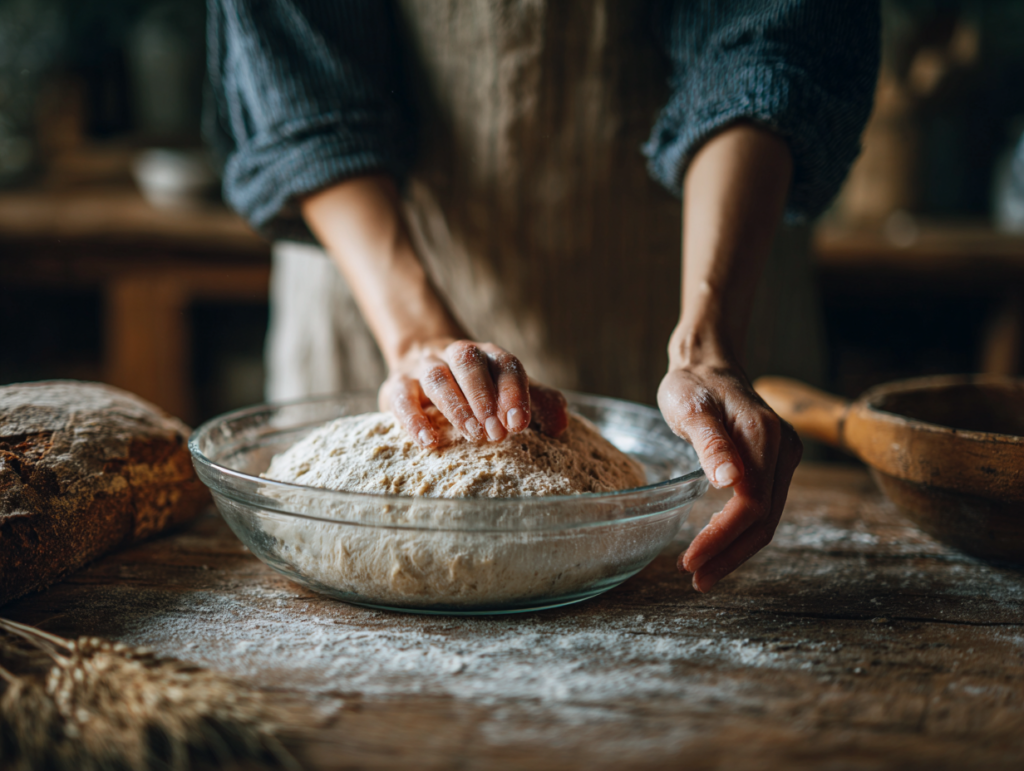
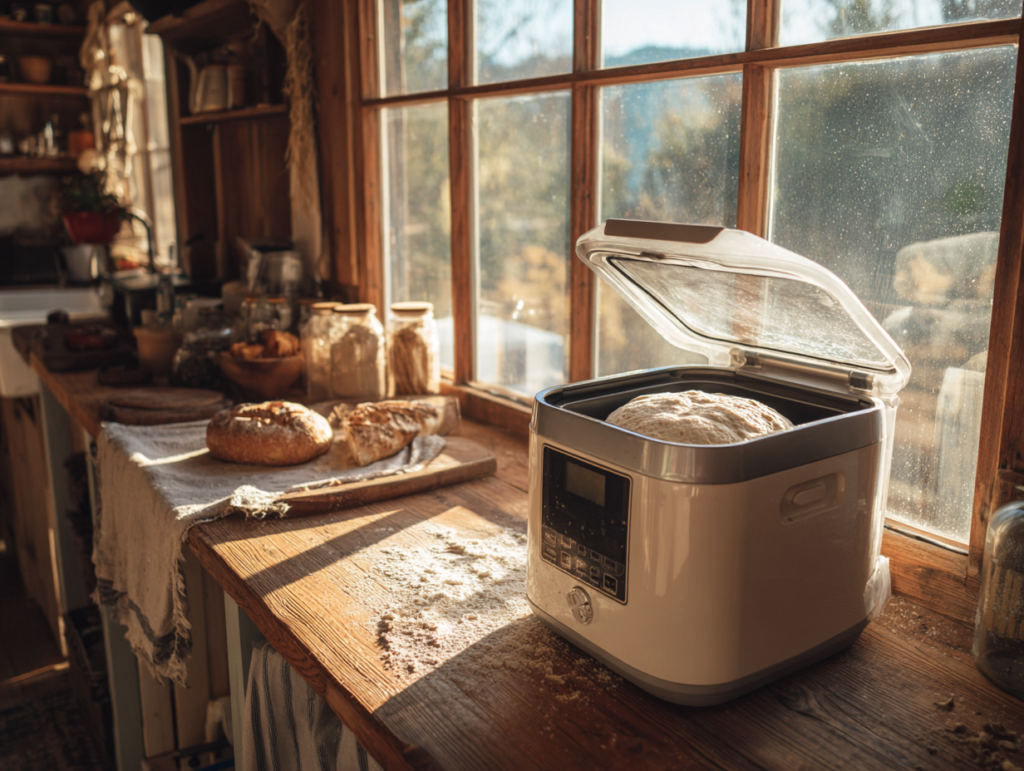
Almost every tutorial tells you to do stretch and folds — pulling and folding your dough every 30 minutes for a couple of hours. That works. But I don’t do that. I use either my Joydeem dough maker with the built-in ferment function, or the dough setting on my bread machine. It does the mixing and gluten development without me standing at the counter. Same result. A lot less effort.
The goal either way is the same: you want the dough to feel smooth, elastic, and strong. A good way to test it is the windowpane test — pull a small piece of dough and slowly stretch it thin. If you can stretch it thin enough to see light through it without it tearing, your gluten is well developed and you’re ready for bulk fermentation.
Where most beginners go wrong is mixing the dough and just walking away. No gluten development at all. That’s a dense loaf waiting to happen.
The fix: Use whatever method works for your life — a dough maker, the dough setting on your bread machine, a stand mixer with a dough hook, or stretch and folds by hand. The method doesn’t matter. What matters is that your dough is smooth, elastic, and passes the windowpane test before bulk fermentation begins.
Cause #6: Dough Hydration Issues
Hydration — the ratio of water to flour — is one of the most misunderstood things in sourdough baking.
High hydration doughs (75 percent and above) can produce beautiful open crumbs. They’re also significantly harder to handle and shape. If you’ve seen those gorgeous glossy sourdoughs on Instagram with enormous air holes and tried to recreate them as a beginner using 80 percent hydration dough — there’s a good chance it came out flat and dense instead.
High hydration requires strong gluten development and confident shaping skills to work. Without both, the dough just spreads outward instead of rising upward.
But too little water isn’t the answer either. A very dry, stiff dough ferments slowly and produces a tight, heavy crumb.
I spent months chasing high hydration recipes before someone told me to just drop to 70 percent and get my technique right first. My loaves improved immediately. I could actually shape the dough without it sliding all over the counter.
The fix: Start with 70 to 72 percent hydration while you’re building your skills. Once you’re consistently getting good oven spring and a loaf you’re proud of, then experiment with going higher. Master the basics before chasing the Instagram loaf.
Cause #7: Poor Shaping
Shaping is where a lot of otherwise good dough goes wrong.
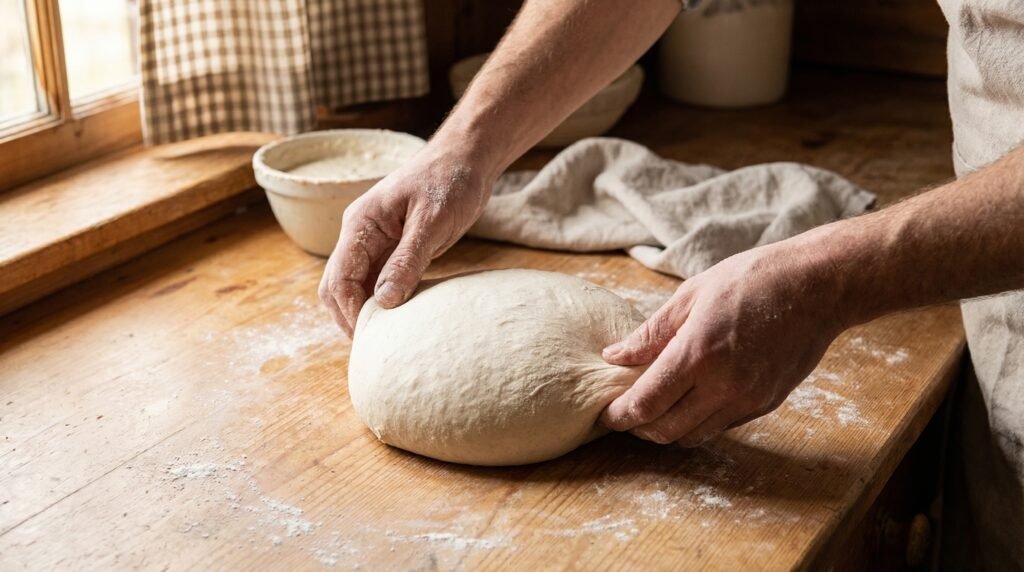
The goal of shaping is to create surface tension across the top of the loaf. That tension is what helps the bread hold its form in the oven and gives you the dome and the oven spring. Shape loosely and the dough spreads outward instead of rising upward. You get a flat, wide loaf instead of a tall, open one.
Good shaping means using your hands to gently pull the dough toward you across the surface, using friction to tighten the outer skin of the dough into a taut ball. You want the surface to feel like a drum — firm enough that when you poke it, it pushes back. Too tight and you’ll tear the dough. Too loose and it won’t hold.
Honestly, this is a skill you have to practice. I shaped probably 30 loaves before I really understood what I was doing. The first time I got a truly tight ball with real surface tension, I made my daughter come look at it. She was underwhelmed. The bread was not.
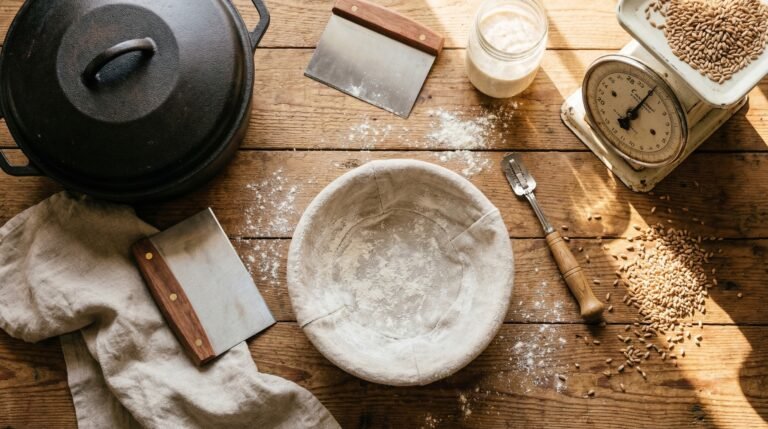
The fix: Shape on a lightly floured or unfloured surface so you have friction to work with. Use a bench scraper to help drag and tuck the dough. It’s one of those things that makes infinitely more sense when you watch it than when you read about it — find a short video and watch the shaping motion a few times before you do it.
Cause #8: Not Scoring Deep Enough
Scoring — that slash across the top of your loaf before it goes in the oven — is not decorative.
When sourdough hits intense heat, it expands rapidly. That’s oven spring. If the surface isn’t scored, the expansion has nowhere controlled to go. The bread tears randomly, the structure collapses inward, and you lose the rise you worked for.
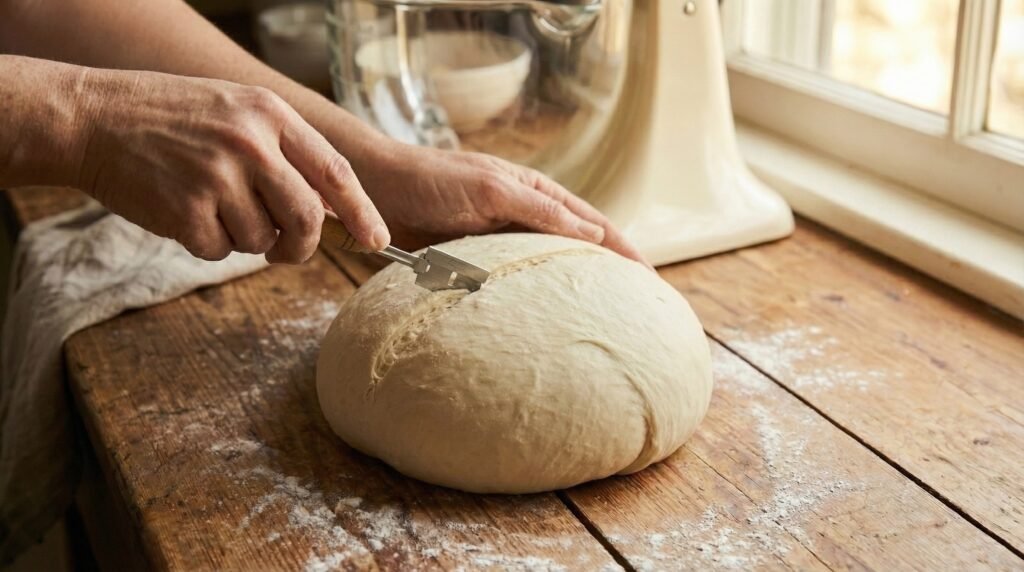
The score needs to be confident and deep — at least half an inch, held at a 30 to 45 degree angle to the surface. A shallow hesitant score won’t open properly. A score that’s straight up and down instead of angled won’t give you that dramatic ear that lets the bread expand upward.
I used to score with a regular kitchen knife held straight up and wondered why my bread never had that rise. A bread lame held at an angle changed everything.
Cold dough also scores much more cleanly than room temperature dough, which is one more reason to bake straight from the fridge. The dough is firm, the lame glides through cleanly, and you get a precise deep score every time.
The fix: Use a sharp lame or razor blade. Hold it at 30 to 45 degrees. Score in one confident, swift motion at least half an inch deep. Don’t hesitate — a hesitant score is a bad score.
Cause #9: Oven Temperature Problems
Your oven matters more than most people realize.
Sourdough needs to go into a very hot oven to get the dramatic oven spring that creates an open, airy crumb. If your oven isn’t hot enough, the bread heats up too slowly, the structure sets before it has a chance to fully rise, and you end up with a denser loaf.
Here’s something that surprised me: most home ovens run cooler than their dials say. Mine runs about 25 degrees lower than whatever I set it to. An $8 oven thermometer fixed that immediately. If your oven says 475°F but is actually running at 450°F, that gap matters.
Here’s my exact method — and yes, it goes against what most sourdough blogs will tell you.
I use a cold Dutch oven. Not preheated. I place my cold dough straight into a cold Dutch oven, put the lid on, and bake covered at 475°F for 21 minutes. Then I uncover it, drop the temperature to 450°F, and bake for 7 more minutes.
The covered phase traps steam from the dough itself, keeping the crust soft and pliable long enough for the bread to fully expand before the crust sets. The uncovered phase gives me the deep crackly crust that makes the kitchen smell like a bakery.
Most recipes say to preheat the Dutch oven until it’s screaming hot. I don’t. The cold Dutch oven method works, it’s safer — no handling a 500°F cast iron pot — and my results are consistently good. Great oven spring, proper crust, open crumb.
Use an oven thermometer. That’s non-negotiable.
The fix: Place dough in a cold Dutch oven. Bake covered at 475°F for 21 minutes. Uncover, drop to 450°F, bake 7 more minutes. Verify your oven temperature with a thermometer — your oven dial is probably lying to you.
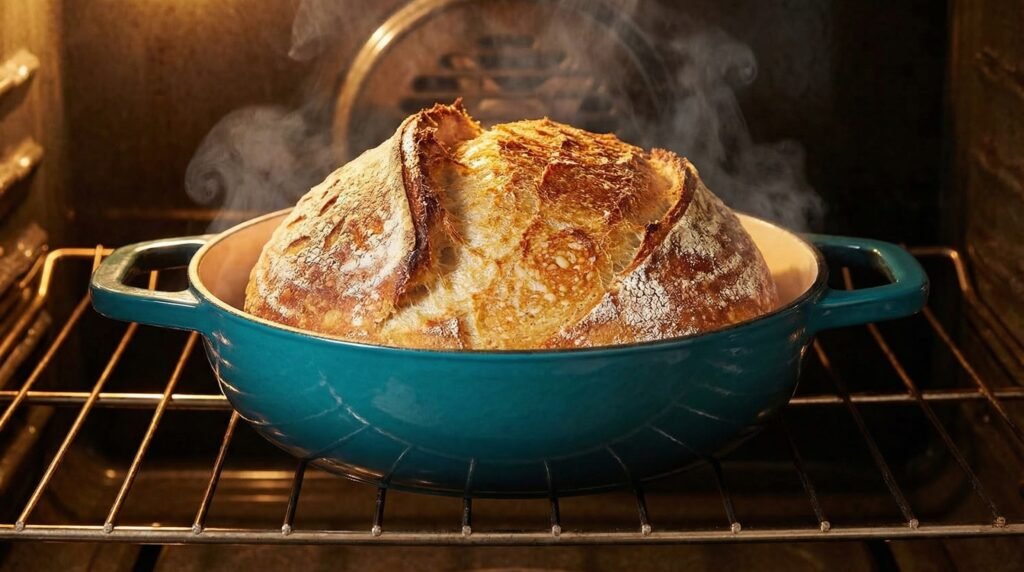
📸 IMAGE 9 Prompt: A cast iron Dutch oven with lid on sitting inside an oven, warm glowing light, sourdough baking, rustic farmhouse kitchen aesthetic, dramatic warm tones Alt text: cold Dutch oven method for baking sourdough bread at 475 degrees Placement: Within Cause #9
Cause #10: Cold or Drafty Kitchen
The sneakiest one on this list.
Fermentation is temperature-dependent. Yeast activity slows dramatically in the cold and speeds up in warmth. A kitchen at 65°F will produce bulk fermentation that takes significantly longer than the same recipe in a 75°F kitchen. If you’re following a recipe’s timing exactly in a cold kitchen, your dough is almost certainly underfermented by the time it says it should be done.
My ranch kitchen gets cold. Really cold. And cold dough is slow, sluggish, unpredictable dough.
My solution — and this is the thing that made my same-day sourdough method actually work — is to control the temperature instead of fighting it. For bulk fermentation I use the ferment function on my Joydeem dough maker, or I use the proof setting on my Breville countertop oven, or I set my banneton on the warming plate at 80°F. Consistent warmth, consistent fermentation, consistent bread.
That’s how I bake a complete loaf in a single day without a 3-day schedule and without babysitting it. Not because I cut corners. Because I control the environment instead of hoping the kitchen cooperates.
If you don’t have any of those tools, the oven-light trick works too — put your dough in a turned-off oven with just the light on. The enclosed space stays a few degrees warmer than the open counter and makes a real difference.
The fix: Find a consistently warm environment for your dough. Proof setting on a countertop oven, warming plate set to 80°F, or oven with just the light on. Go by how the dough looks and feels rather than the clock, and you’ll stop having cold-kitchen problems.
Quick Reference: Dense Sourdough Troubleshooting Chart
| Problem | Most Likely Cause | Quick Fix |
|---|---|---|
| Dense AND gummy inside | Underproofed | Longer bulk fermentation or warmer environment |
| Dense AND flat | Weak starter OR poor shaping | Build starter strength, practice shaping |
| Dense AND heavy | Wrong flour | Switch to unbleached bread flour |
| Dense with no ear | Poor scoring OR cold oven | Score deeper at an angle, check oven temp |
| Dense every single time | Cold kitchen | Use proof setting or warming plate |
Frequently Asked Questions
Why is my sourdough dense even though it rose? Rising and being properly proofed aren’t always the same thing. Dough can increase in size without being fully fermented — the bubbles are there but the structure isn’t developed enough to hold through baking. Go by the size of your dough, not the clock on the recipe. When it’s doubled, it’s ready to move on.
Why is my sourdough dense and gummy? A gummy crumb almost always means underproofing. The dough went into the oven before fermentation was complete, which means the interior didn’t cook through properly. Longer bulk fermentation — in a warm environment — is your fix.
Can overproofing cause dense bread? Yes. An overproofed dough loses its structure. The yeast has exhausted itself, the gas has dissipated, and the dough can’t hold its shape in the oven. It’s less common than underproofing but produces a similarly disappointing result.
Does the type of Dutch oven matter? Not really. Any Dutch oven you already own will work. Cast iron, enameled, whatever is in your cabinet. I use a teal enameled cast iron Dutch oven because it’s beautiful and it lives on my counter, but it’s not the reason my bread works. The method is the reason.
My sourdough is dense on the bottom specifically — why? Usually a temperature issue. The bottom of your oven may be running hotter than the rest, baking the bottom crust before the interior sets. Try placing your Dutch oven on a higher rack or using a baking steel or stone on the bottom rack to regulate the heat.
Conclusion
Dense sourdough is fixable. Almost always with just one or two adjustments.
Start with your starter. It solves more problems than anything else on this list. Then look at your fermentation — are you giving it enough warmth, enough time? Then flour, shaping, scoring, oven temperature. Work through it methodically and you will find what’s off.
Every dense loaf teaches you something. My early loaves were almost exclusively disappointing. Now I bake two or three times a week and I rarely have a bad one. The knowledge builds up, your instincts sharpen, and one day you’ll pull something out of the oven that genuinely surprises you.
That loaf is coming. Probably sooner than you think.
Drop a comment below and tell me which cause you think has been affecting your bread — I read every single one and I’m happy to help you troubleshoot. 🍞

If you’ve made it through 10 dense loaves and you’re still here, congratulations — you have exactly the kind of stubborn personality that does well at other hard things too. Like building income online without having to wear real pants or answer to anyone. I actually started this whole digital product thing while I was learning sourdough — new design ideas every day, methods always being updated, so the creating never feels like a grind. This is what I use — and unlike my first seventeen sourdough loaves, it actually works.
— Ella
New to sourdough? Start here: Sourdough for Beginners: The Simple Method That Actually Works →
Not sure if your starter is ready? 7 Signs Your Sourdough Starter Is Ready to Bake →
Want to know which tools are actually worth buying? 9 Sourdough Tools Worth Buying (And 3 That Are Just Hype) →