How to Revive a Neglected Sourdough Starter in 3 Days (It’s Probably Not Dead)
This post contains affiliate links. If you purchase through my links I may earn a small commission at no extra cost to you. I only recommend products I actually use and trust.
I want to revive sourdough starter conversations everywhere by saying this first: it is probably not dead.
I know it looks bad. I know there’s a suspicious dark liquid on top and it smells like something you’d find under a college dorm bed. I know it’s been sitting in your fridge for a month or two and you’ve been avoiding opening the jar because you feel guilty about it.
Once you realize how to revive sourdough starter, you’ll see that it’s not as daunting as it seems.
I’ve been there. More than once.
After a few days of care, you can successfully revive sourdough starter and start baking again.
My starter has survived a month or two of complete neglect. It was touch and go for a while when I finally got around to reviving it — a few days where I genuinely wasn’t sure it was going to pull through. And then it did. And then I made bread.
Before you throw anything away — here’s how to revive sourdough starter the right way.
Reviving sourdough starter is a common challenge for many bakers, but it’s important to remember that you can revive sourdough starter with the right approach.
What Neglect Actually Does to a Starter
When a starter sits unfed for a long time, a few things happen:
To effectively revive sourdough starter, you’ll need to understand the basic revival process.
It’s not just about care; it’s about knowing how to revive sourdough starter correctly.
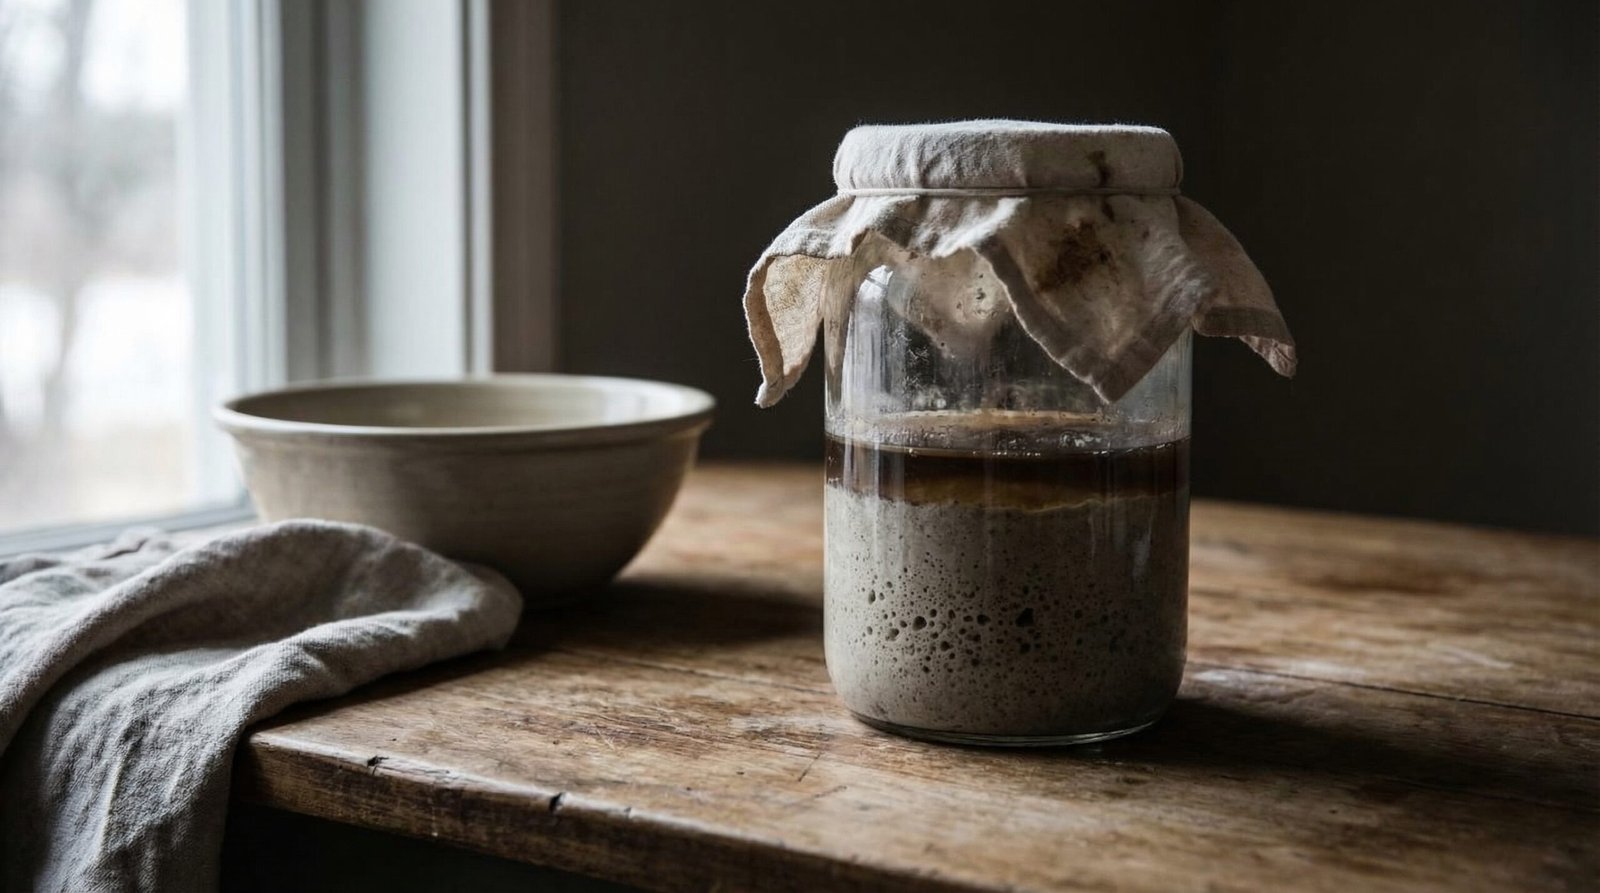
The yeast runs out of food and goes dormant. The bacteria keeps working longer than the yeast, producing more and more acid — which is why a neglected starter smells so sharp and vinegary. Eventually even the bacteria slow down.
That dark liquid on top — hooch — is alcohol produced by fermentation. It’s your starter’s way of telling you it’s been waiting and it is not happy about it.
None of this means it’s dead. It means it’s hungry, tired, and a little dramatic. Which, honestly, is relatable.
The yeast and bacteria are still in there. They just need food, warmth, and a few days of consistent care to wake back up.
How to Know If It’s Actually Dead
Before you revive, check for these:
It’s probably fine if:
- There’s hooch on top — totally normal
- It smells very sour or vinegary — hungry, not dead
- It looks flat and grey — dormant, not dead
- It smells like beer or nail polish remover — needs feeding badly but recoverable
Throw it out and start fresh if:
- There’s pink, orange, or red coloring anywhere
- There’s visible fuzzy mold on the surface
- It smells truly putrid — not sour, not vinegary, but genuinely rotten
Pink or orange color means contamination and that starter cannot be saved. Everything else is almost certainly recoverable.
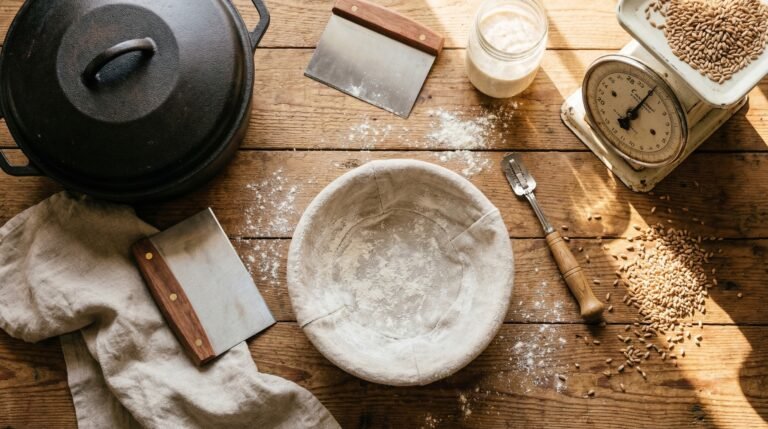
What You Need for the Revival
- Your neglected starter
- Unbleached bread flour — must be unbleached. King Arthur Unbleached Bread Flour is what I use.
- Bottled water — room temperature
- Your starter jar
- A kitchen scale
- Patience — 2-3 days worth
The Revival Process: Step by Step
Step 1: Deal With the Hooch
Gather everything you need to properly revive sourdough starter and get ready for the process.
Open the jar and assess.
If the hooch layer is thin and the smell is just sharp and vinegary — stir it back in. A little hooch mixed back in gives your revived starter a head start on flavor and isn’t harmful.
If the hooch is thick, very dark, and smells more like nail polish remover than beer — pour most of it off. Leave just a little behind if you want, or discard it entirely. At this point the acidity is high enough that you want to dilute it before feeding rather than concentrate it further.
It depends on how bad it is. Use your judgment. When in doubt, pour it off.
Step 2: Discard Down to a Small Amount
Scoop out most of your starter and discard it — leave just 20-30g in the jar. You’re keeping the living culture but getting rid of the highly acidic environment it’s been sitting in.
By following these steps, you can learn how to revive sourdough starter to its former glory.
Make sure to monitor your efforts to revive sourdough starter carefully.
This feels wasteful but it’s important. Feeding a large amount of very acidic starter just dilutes the problem. Starting small gives the yeast a better chance to establish.
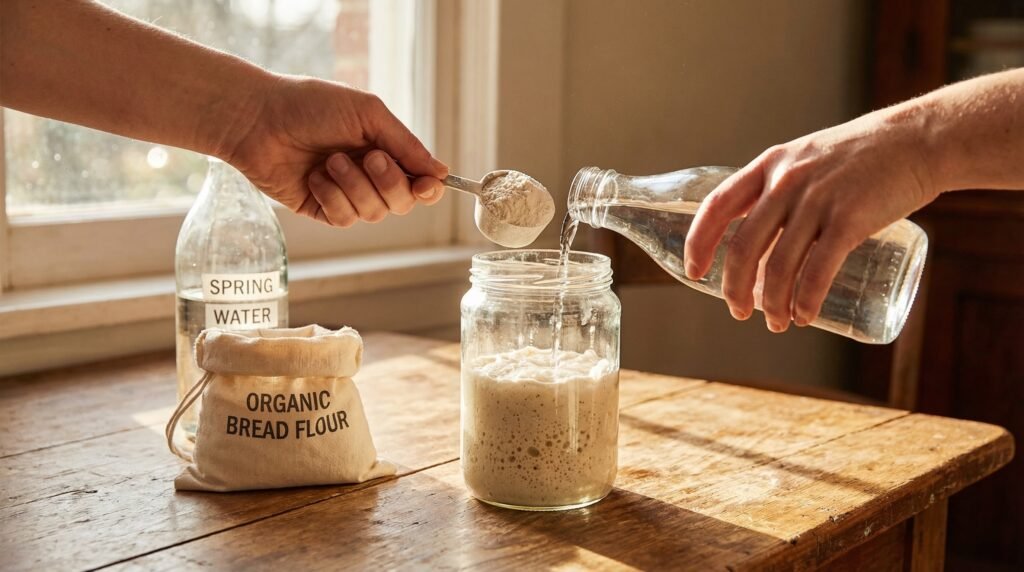
Step 3: Feed to Revive Sourdough Starter with a 1:2:2 Ratio
For revival I use a larger ratio than my usual maintenance feed — 1:2:2 instead of 1:1:1. More food, more water, more fuel.
- 25g starter
- 50g bottled room temperature water
- 50g unbleached bread flour
Stir well until fully combined. Cover loosely. Leave at room temperature.
The larger ratio dilutes the acidity and gives the yeast more to work with. This is the most important step in the revival process.
Step 4: Feed Twice a Day
For the next 2-3 days feed your starter twice a day — morning and evening, roughly 12 hours apart.
Each time:
- Discard down to 25g
- Add 50g water and 50g flour
- Stir well, cover loosely, leave at room temperature
Don’t put it back in the fridge during revival. It needs warmth to wake up. Room temperature is what you want — ideally 70-75°F. If your kitchen runs cold, put the jar in your countertop oven overnight (oven off — just the enclosed warmer space) or on your sourdough warming plate.
Step 5: Watch for Signs of Life
After the first feeding or two you may not see much. That’s normal. The yeast is waking up slowly.
By day 2 you should start to see:
- Small bubbles forming
- The starter beginning to rise after feeding
- The smell shifting from sharp and vinegary to something more yeasty
By day 2-3 you should have a starter that’s visibly active — bubbling, rising, smelling alive. Mine came back within 2-3 days of twice-daily feeding and I was genuinely relieved every single time.
With attention to detail, you can successfully revive sourdough starter and enjoy baking.
The Touch and Go Part
I’ll be honest with you — when my starter has been neglected for a month or two, the first day of revival can be discouraging.
It doesn’t look like anything is happening. It still smells bad. You feed it and walk away and come back and it’s just… sitting there. Flat. Unimpressed.
Keep going.
The second feeding is when things usually start to shift. By the second day you’ll see something. A bubble here, a slight rise there. By the third day it should be clearly active.
It’s essential to know what signs indicate that you’re on the right track to revive sourdough starter.
If you’re at day 3 and still seeing nothing — not a single bubble, no rise at all — try switching to whole wheat flour for one or two feedings. The extra nutrients in whole wheat can jumpstart a sluggish revival. Then go back to your usual unbleached bread flour.
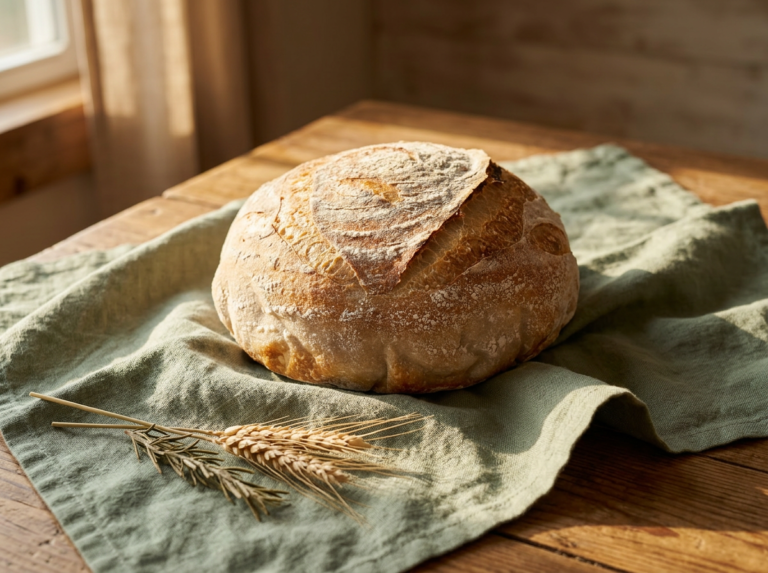
When Is It Ready to Bake With Again?
Don’t rush this part. A starter that has been through a revival needs a few consistent cycles before it’s reliable for baking.
Wait until it’s:
- Doubling reliably within 4-8 hours of feeding
- Full of bubbles throughout
- Smelling yeasty — not vinegary
- Passing the float test consistently
I usually wait until it’s shown me two or three strong feeding cycles in a row before I bake with it. One good cycle after a revival doesn’t mean it’s back to full strength. Give it a couple more days of regular feeding after it looks active before you commit a loaf to it.
For the full checklist of signs your starter is ready to bake with, [read this post →]
How to Avoid This Next Time
I say this with complete self-awareness because I have absolutely neglected my own starter more than once.
Feed it before you go away. If you know you’re going to be out of town or just very busy, feed your starter and mix it slightly dryer than usual before it goes in the fridge. A drier starter ferments more slowly and can go longer between feedings without deteriorating as badly.
Set a reminder. I don’t keep a rigid schedule but I do have a loose “check on it every week” approach. Even just opening the fridge and looking at it keeps it top of mind.
Keep the amount small. A smaller starter — 50g or less — means less waste when you discard and less guilt when you forget about it. It’s also faster to revive because there’s less highly acidic culture to work through.
Frequently Asked Questions
My starter has been in the fridge for six months. Can I still revive it? Possibly. Six months is a long time but not necessarily a death sentence. Check for mold and pink coloring first — if it’s clear of both, try the revival process. It may take longer than 2-3 days and you may need several rounds of feeding before it shows life, but it’s worth trying before you give up on it.
The hooch is black. Is that okay? Very dark hooch usually just means it’s been a long time. Pour it off completely rather than stirring it in, then proceed with the revival. Black hooch by itself doesn’t mean contamination — check for mold and unusual colors in the starter itself.
Can I revive a dried starter? Yes — dried starters rehydrate well. Mix equal parts dried starter and room temperature water, let it sit for a few hours to absorb, then begin feeding as normal. It may take a few extra days to become fully active.
Do I need to throw away the discard during revival? During the revival phase, yes — discard it. Your starter’s discard is highly acidic right now and not ideal for recipes. Once it’s back to full health and smelling good, discard is perfectly usable in pancakes, crackers, and anything else you’d normally make with it.
Should I use a new jar for the revival? It doesn’t hurt. If your jar has dried starter caked on the sides from months of neglect, a clean jar gives your revival a cleaner environment. Just make sure whatever jar you use is well rinsed — no soap residue, which can inhibit fermentation.
The Bottom Line
Your starter is probably not dead.
Once you complete the revival process, you will no longer wonder how to revive sourdough starter.
Mine came back from a month or two of neglect with a thick layer of hooch, a smell that could clear a room, and absolutely no visible signs of life. Two to three days of twice-daily feeding and it was bubbling away like nothing had happened.
So, don’t hesitate; take the steps to revive sourdough starter and reclaim your baking.
Starters are resilient. More resilient than we give them credit for. More resilient, honestly, than most of us deserve given how we treat them sometimes.
Feed it. Give it warmth. Be consistent for a few days.
It’ll come back.
Need a starter in the first place? How to Make a Sourdough Starter from Scratch →
Not sure how to feed it properly? How to Feed Your Sourdough Starter the Simple Way →
Wondering if it’s ready to bake with? 7 Signs Your Sourdough Starter Is Ready to Bake →
Remember, patience is key when you aim to revive sourdough starter successfully.
With practice, you’ll master the art of how to revive sourdough starter and enjoy the fruit of your labor.
Ultimately, everyone can learn how to revive sourdough starter and appreciate its value in baking.