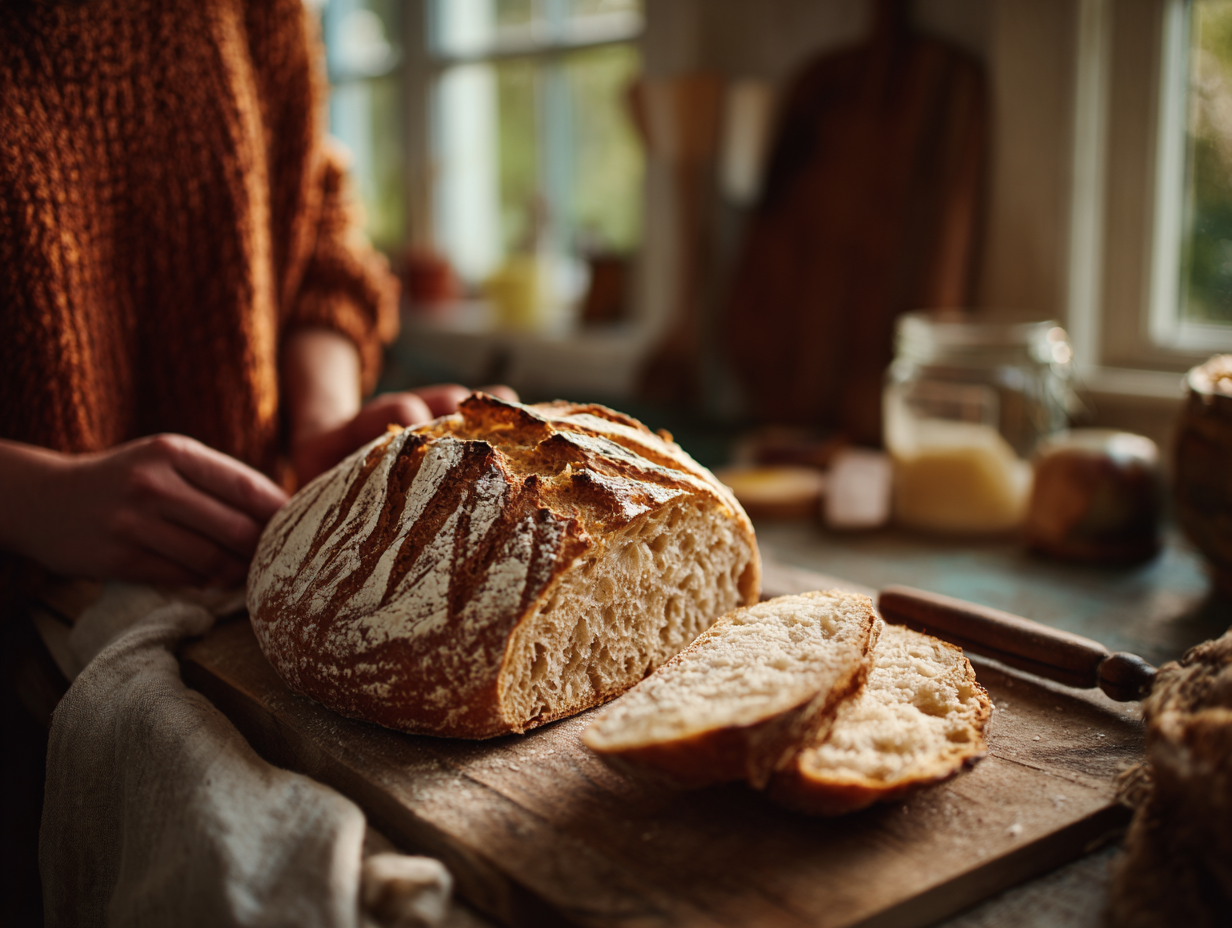
Sourdough for Beginners: The Simple Method That Actually Works
This post contains affiliate links. If you purchase through my links I may earn a small commission at no extra cost to you. I only recommend products I actually use and trust.
Want my exact same-day sourdough method I use every morning on our ranch? 👉 Grab the free cheat sheet here: My FREE step by step cheat shee
ISourdough for beginners is simpler than the internet wants you to believe — and I’m going to prove it to you in this post.
This method is perfect for sourdough for beginners who want to achieve great results without the fuss.
Let me be upfront with you about something.
I am not a sourdough purist. I do not have a laminated schedule on my refrigerator. I have never once used the word “autolyse” in casual conversation. My starter lives in the fridge and gets fed on my timeline, not its own. And I bake same-day — start to finish — because I have horses to feed and a life to live.
The real sourdough enthusiasts may be appalled. I’ve made peace with that.
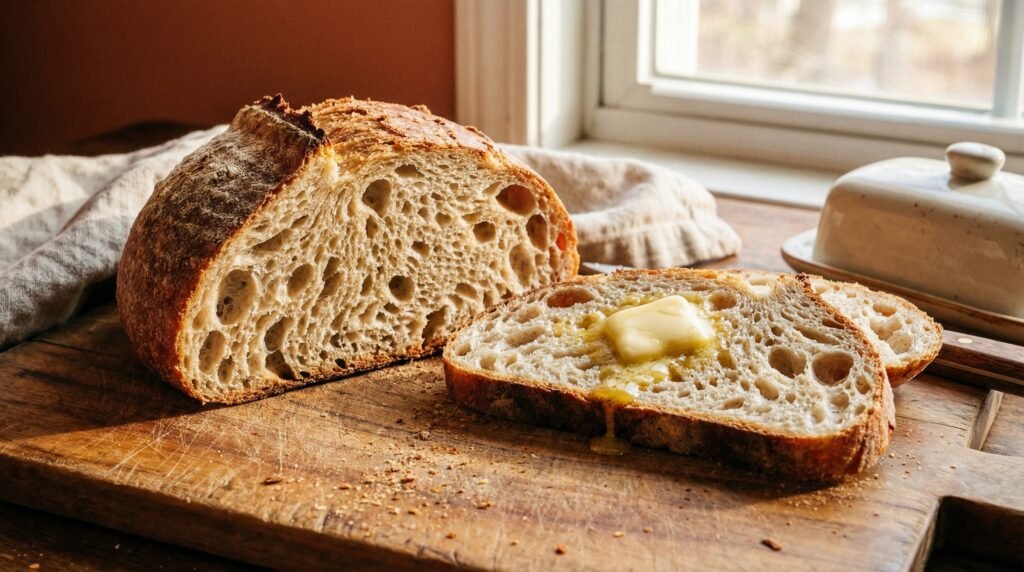
What I do have is a method that works. Every single time. A loaf with a proper crust, an open crumb, and a tang that makes people ask for the recipe. Built around real life, not a 72-hour babysitting schedule.
If you’ve been scared off sourdough by the complicated blogs — the ones that read like a chemistry dissertation — this is the guide I wish someone had handed me four years and approximately 47 hockey pucks ago.
Pull up a stool. The bread’s almost done.
What Even Is Sourdough? (The Short Version)
Sourdough is bread leavened with wild yeast — meaning instead of a packet of commercial yeast from the store, you use a live fermented starter made from just flour and water. That starter is what gives sourdough its signature tang, its chewy crumb, and all those gut health benefits people keep talking about.
It sounds complicated. It isn’t. It just takes a little patience the first time you make your starter — and after that, it’s genuinely one of the most forgiving things you can bake.
Water (bottled water, every single time — and skip the softened water entirely. Softened water has salt added through the softening process and it will mess with your starter and slow your fermentation. Plain bottled water is cheap, consistent, and it works.)
Cast Iron Dutch Oven(mine is this stunning teal one with a gold knob and embossed cactus design — because if you’re going to bake sourdough, you might as well do it with something beautiful. Cast iron, enameled, and it works perfectly.)
Sharp lame or knife for scoring
Oven that goes to 475°F
That’s it. No special thermometers. No steam injection ovens. No $200 proofing boxes. Just the basics.
Here’s where I do things differently — and where the sourdough police will start muttering.
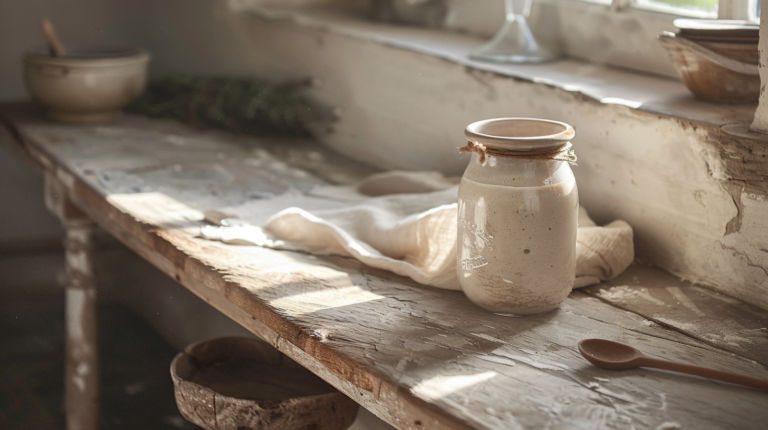
I keep my starter in the refrigerator. I take it out the night before I plan to bake and let it come to room temperature on the counter. The next morning it’s ready to go.
I feed my starter after I’ve already mixed my dough — using the portion I removed. This works because my starter is already active enough from its overnight rest to leaven the bread perfectly. Has it worked every time for four years? Yes. Are the purists happy about it? Absolutely not.
Water (bottled water, every single time — and skip the softened water entirely. Softened water has salt added through the softening process and it will mess with your starter and slow your fermentation. Plain bottled water is cheap, consistent, and it works.
🌿
Ella’s Note
Softened water has salt added through
the softening process and it will slow your fermentation
and mess with your starter. Skip it entirely. Plain
bottled water is cheap, consistent, and it works
every time.
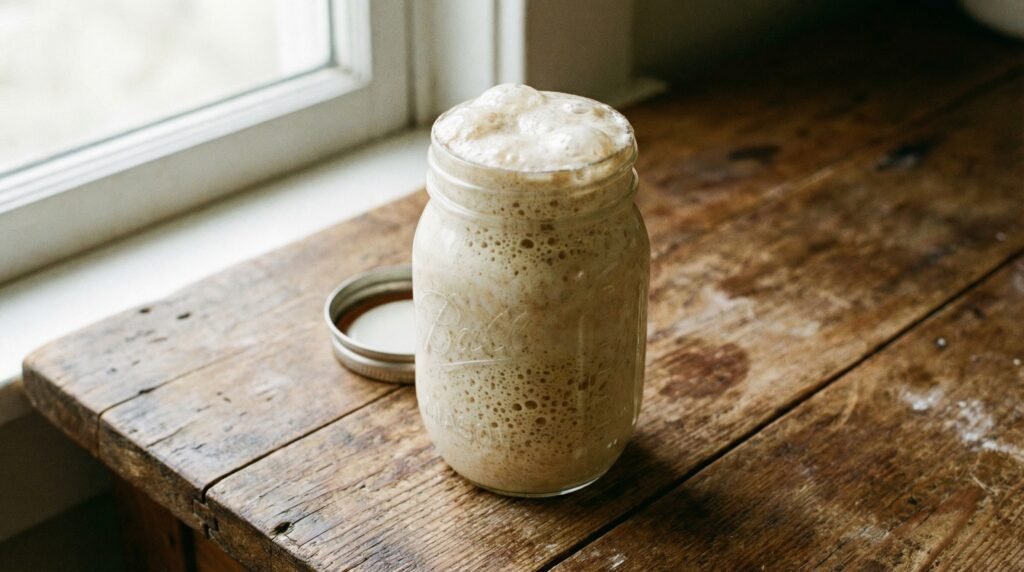
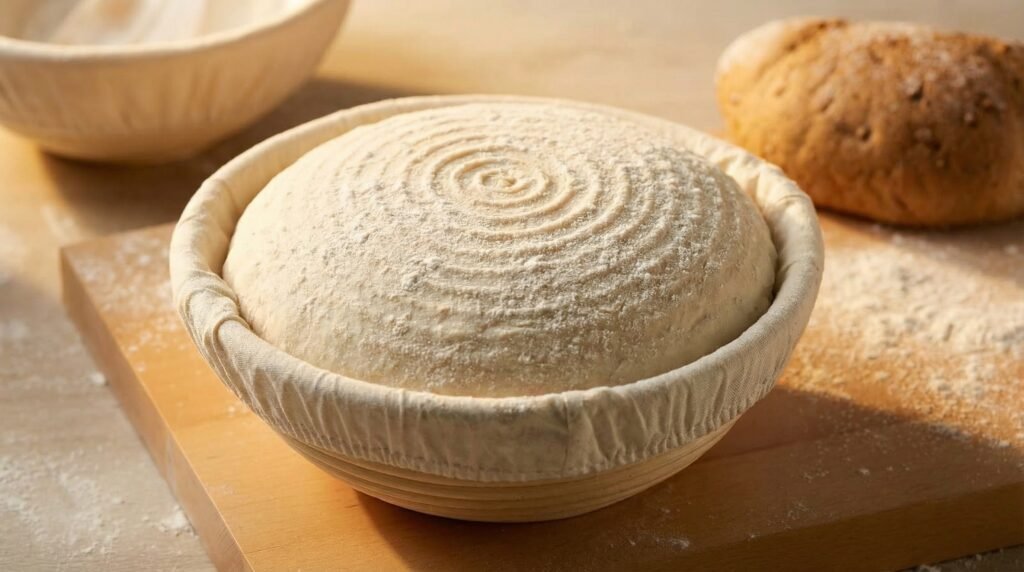
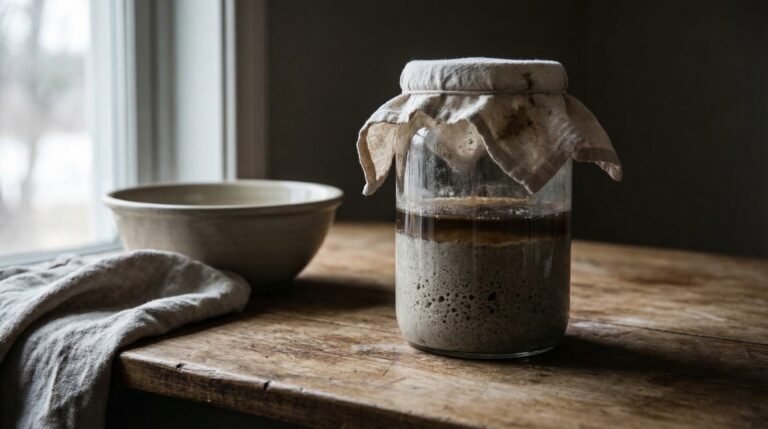
What a healthy starter looks like:
Bubbly and active — you should see air bubbles throughout
Slightly domed on top, or just past its peak
Smells tangy and a little yeasty — like good beer or plain yogurt
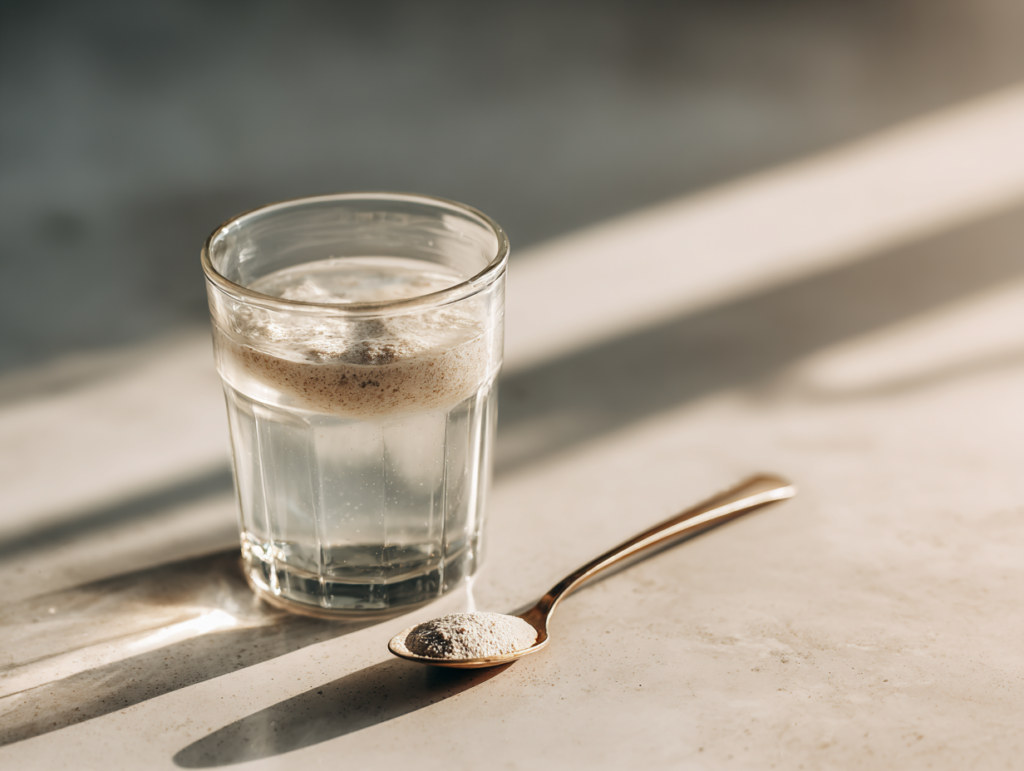
Passes the float test: drop a small spoonful in water — if it floats, it’s ready
If your starter sinks like a stone, give it a few more hours. If it’s been in the fridge for more than a week, feed it the night before and let it wake up fully before baking.
This is where my dough machine earns its counter space. I use the Joydeem HMJ-A701 Electric Dough Maker with Ferment Function — it mixes AND ferments in the same bowl, which is exactly why my method works so well. If you don’t have one yet, the dough setting on a bread maker works beautifully — that’s exactly how I made my loaves before upgrading. Either way, you’re not kneading this by hand.
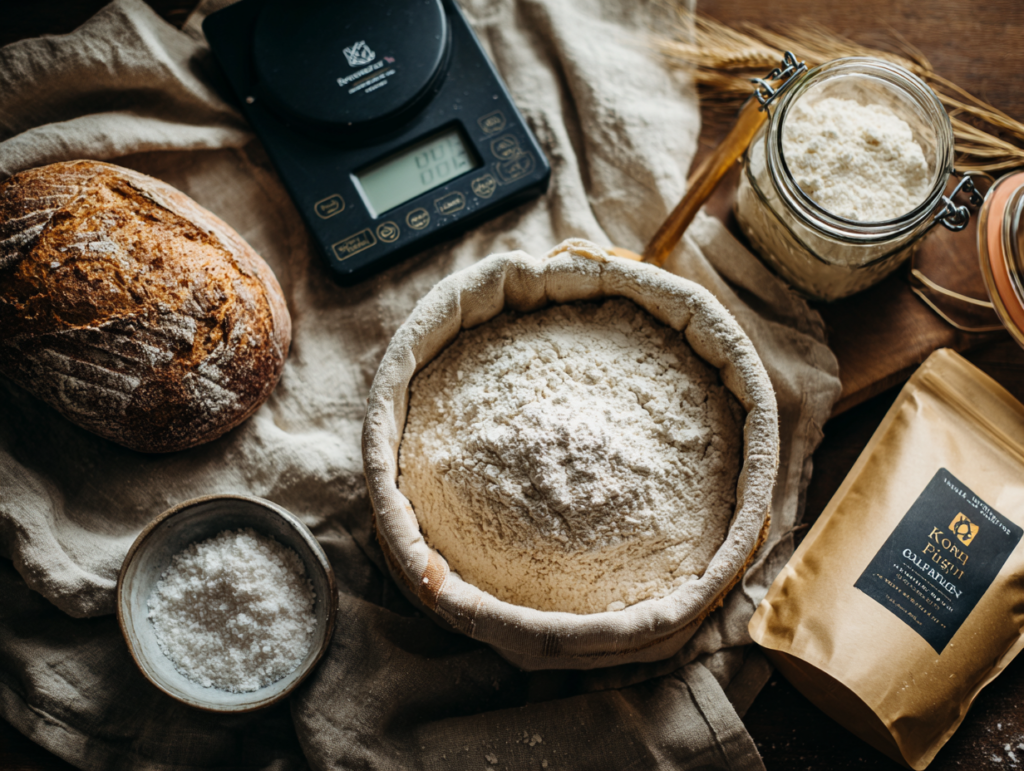
My Basic Sourdough Formula (for one loaf):
Ingredient
Weight
King Arthur Unbleached Bread Flour
500g
Bottled water
315g (the recipe calls for 325g — on humid days I pull it back a little. Weather matters more than most baking blogs will admit)
Active sourdough starter
100g — about 1 cup (honestly? I usually just scoop a cup. The scale is for the flour and water. The starter is forgiving enough that a cup measure works fine and I’ve never had a problem.)
Salt
10g
Add everything — flour, water, starter, and salt — into your dough machine all at once. No staging, no adding salt later, no separate rest period. Just load it up and let the machine do its thing.
Set it to mix and ferment for 120 minutes. That’s it. Walk away. Feed the horses. Have a coffee. The machine handles the mixing and the bulk fermentation together while you do literally anything else.
When the 120 minutes are up, your dough is ready to shape. It should be smooth, slightly tacky, and smell wonderfully tangy.
Step 3: Shape and Rise
Most sourdough recipes will tell you to do 4–6 sets of stretch and folds over 4 hours, then cold proof overnight. That’s a lovely weekend project. It is not a Tuesday.
My dough machine already handled the fermentation, so when it’s done I go straight to shaping. I turn the dough out, shape it into a round, and place it directly into my floured banneton basket.
Then I put it in a warm spot — I keep mine at around 80°F, which in a ranch kitchen in summer is just called “the counter” — and I let it rise until it doubles. At 80 degrees that takes roughly 3–4 hours.
The purists are now fully clutching their pearls. The bread does not care.
How to tell when it’s ready:
It has visibly doubled in size
The dough jiggles slightly when you shake the basket — like Jell-O, not water
A finger poke leaves an indent that slowly springs back about halfway
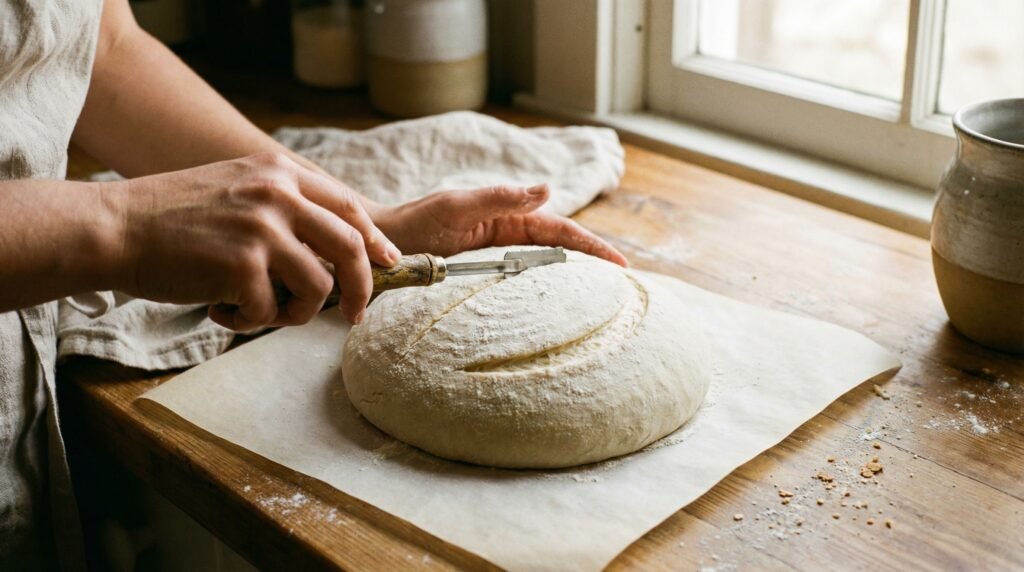
Step 4: Score and Bake
Here’s another place where I part ways with conventional wisdom — and it works beautifully.
Most sourdough recipes tell you to preheat your Dutch oven for 45 minutes until it’s dangerously hot, then somehow lower your dough into it without losing a finger. I skip that entirely.
When your dough is ready, flip it out of the banneton onto a piece of parchment paper and score it — one confident slash across the top with your lame or a very sharp knife. This isn’t art class. One clean cut is all you need to give the bread somewhere to expand. If it looks a little rough, that’s called rustic and it’s on purpose.
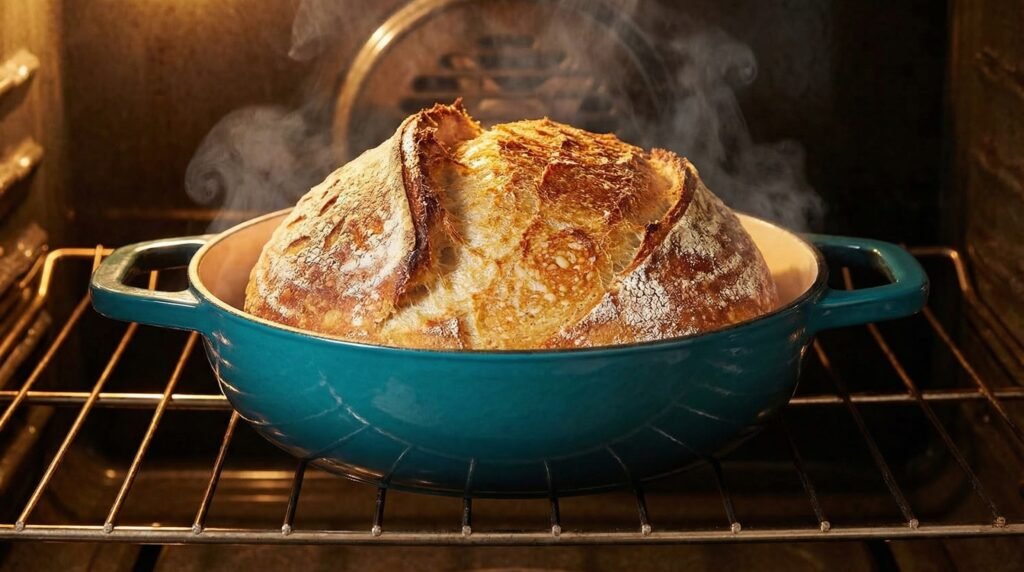
Place your scored dough (still on the parchment) directly into your cold Dutch oven. Put the lid on. Put the whole thing into a cold oven and set it to 475°F.
Bake:
475°F with lid on — 21 minutes
Remove lid, lower to 450°F — 7 minutes
The lid traps steam in the first phase, which gives you that gorgeous crackly crust. The last 7 minutes without the lid is what gives you the deep golden color.
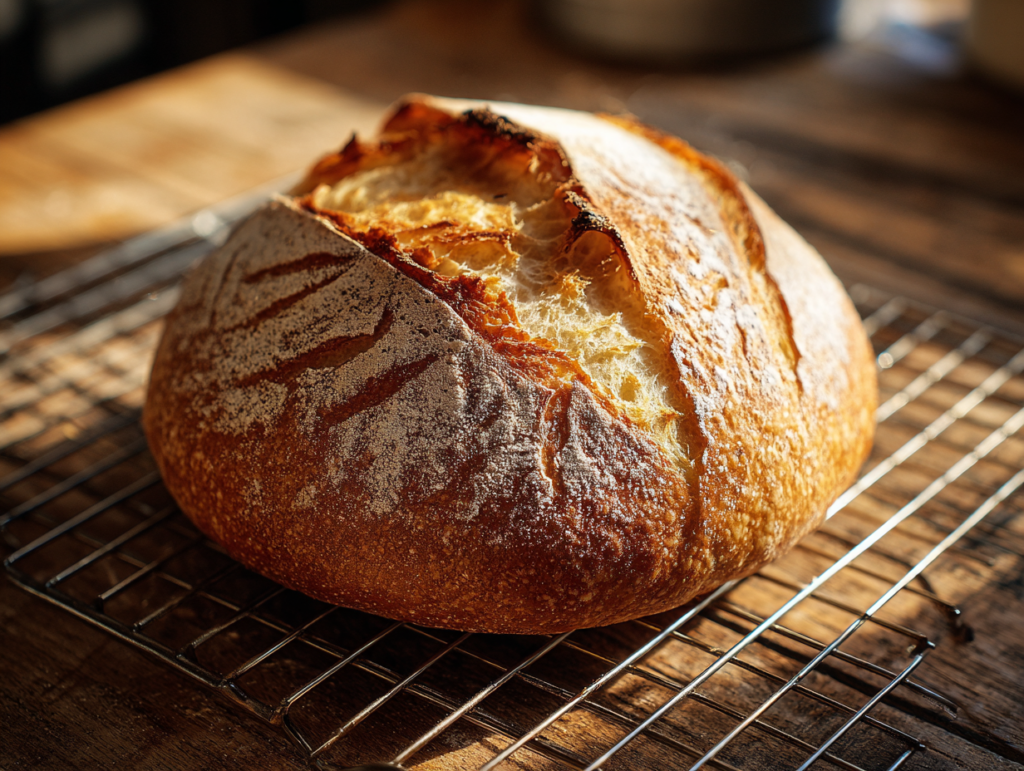
Pull it out. It should sound hollow when you tap the bottom. Let it cool on a wire rack for at least one hour before cutting — I know, I know, but cutting into hot sourdough ruins the crumb. Exercise some restraint. You’ve earned it.
Why This Works (Even If It Shouldn’t)
I know what some of you are thinking. That’s not how you’re supposed to do it.
You’re right. This isn’t the traditional method. I skip the multiple stretch-and-fold sessions. I don’t cold proof overnight. I feed my starter on my schedule. And yet — every loaf comes out right.
Here’s why: sourdough is more forgiving than the internet wants you to believe. The fundamentals are simple — active starter, properly hydrated dough, enough time to rise, and a hot Dutch oven. Everything else is refinement, not requirement.
Could you get a slightly more complex flavor with a 48-hour cold proof? Probably. But you’d also need to plan your bread baking two days in advance, and I have cattle to check on.
Same-day sourdough. Fridge starter. Dough mixer. Works every time.
Common Beginner Mistakes (And the Honest Fixes)
The loaf is dense and didn’t rise much. Your starter wasn’t active enough. Full troubleshooting guide: Why Is My Sourdough Dense? → Take it out of the fridge earlier, or give it a feed the night before and let it get bubbly before you use it.
The bread is too sour. Your dough over-fermented — it sat too long before baking. At 80°F it goes fast. Watch it, don’t just set a timer and walk away.
The crust is pale and soft. Your oven temperature wasn’t hot enough, or your Dutch oven lid isn’t sealing well. Make sure your oven is fully up to 475°F before the timer starts — give it a few extra minutes if your oven runs cool.
It stuck to the banneton. Use more rice flour in your banneton next time, not all-purpose. Rice flour doesn’t absorb into the dough the same way and releases much more cleanly.
The score didn’t open up. Your blade wasn’t sharp enough, or you hesitated. One confident cut, slightly at an angle. Don’t second-guess it.
Your First Loaf, Step by Step
Here’s the whole thing in one place:
Night before: Take starter out of fridge, leave on counter
Morning: Check starter — bubbly and active? Good. Do the float test if you’re not sure
Load machine: Add all ingredients to dough machine — flour, water, starter, salt
Mix and ferment: Set machine for 120 minutes and walk away
Shape: Turn dough out, shape into a round, place in floured banneton
Rise: Warm spot, 80°F, until doubled — about 3–4 hours
Score: Flip onto parchment, one confident slash, place in cold Dutch oven
Bake: Lid on, cold oven, set to 475°F — 21 min, then lid off at 450°F for 7 min
Cool: Wire rack, one full hour — this part is non-negotiable
Eat: You made sourdough. On a regular Tuesday. Well done.
FrequentlyAsked Questions
Can I use all-purpose flour instead of bread flour? Yes — but always unbleached. All-purpose flour has lower protein content which means slightly less gluten development and a less chewy crumb. Bread flour gives you better structure and a chewier texture. Either works — just never bleached.
How do I make my starter if I don’t have one? You can make one from scratch with just flour and water — it takes about 7 days. Or you can buy an established starter and skip the waiting entirely. [How to Make a Sourdough Starter from Scratch →]
Can I do this in a regular loaf pan instead of a Dutch oven? You can but the crust and oven spring won’t be the same. The Dutch oven traps steam which is what gives sourdough its crackly crust and dramatic rise. A covered casserole dish is the best substitute if you don’t have one yet.
My starter has been in the fridge for three weeks. Is it dead? Probably not. Starters are more resilient than people give them credit for. Take it out, pour off any dark liquid on top, and feed it twice a day for two to three days. It’ll almost certainly come back. [Full revival guide here →]
Do I really have to let it cool for a full hour? Yes. The inside is still finishing from residual heat. Cut into it too early and you’ll get a gummy crumb — not because anything went wrong, but because you didn’t let it finish. One hour minimum. It’s the hardest part of the whole process.
If your first loaf isn’t perfect — it probably won’t be — that’s normal. My first several loaves were weapons. Dense, pale, absolutely joyless. I almost quit.
I didn’t, obviously. And now I bake two or three times a week without drama, without a schedule, without a single apology for doing it my way.
Your method will develop too. This one is just a place to start.
Here’s something nobody tells you about learning sourdough — it quietly rewires your brain to believe you can figure things out. Which is apparently how I ended up selling digital products on Etsy at 10pm after the horses were fed. I actually learned to bake sourdough while I was using this system — so the two are kind of tangled together in my brain now. New design ideas show up every day, the methods keep getting updated, and honestly creating becomes easy when someone’s already done the hard thinking for you. If you’re the kind of person who likes the idea of money coming in while you’re elbow-deep in dough, this is the thing I use. It’s genuinely good and it keeps getting better — which I appreciate because I hate when things stay mediocre.
This post contains affiliate links. If you purchase through my links I may earn a small commission at no extra cost to you. I only recommend products I actually use and trust. For a long time…
If you’ve been wondering how to make a sourdough starter that actually works…” Learning how to make a sourdough starter is easier than you think — and honestly, you don’t even have to. You don’t have…
This post contains affiliate links. If you purchase through my links I may earn a small commission at no extra cost to you. I only recommend products I actually use and trust. You pulled your sourdough…
Not sure if your sourdough starter is ready to bake with? Here are 7 signs to check every time — including the float test, the dome, and what it should smell like.
Most sourdough content makes the whole thing look like a performance. The flour is artfully dusted. The kitchen is spotless. The light is perfect. And somewhere in there, the actual routine gets buried under the aesthetic….