How to Make a Sourdough Starter from Scratch in 7 Days (Or Just Buy One Like I Did)
If you’ve been wondering how to make a sourdough starter that actually works…”
Learning how to make a sourdough starter is easier than you think — and honestly, you don’t even have to.
You don’t have to make your starter from scratch.
I know. Revolutionary. The sourdough community would like a word with me. But here’s the thing — I killed several starters before I finally got one that stuck, and every single one of those deaths was entirely my fault. The sun. The forgetting. The wrong water. All of the above, honestly, sometimes in the same week.
So when I finally got serious about sourdough, I bought a starter from an Etsy shop, named her something ridiculous, and never looked back. She’s been alive for four years. She has survived approximately 47 hockey puck loaves, two moves, one very hot summer, and my general approach to life.
But — and this is important — if you want to make one from scratch, you absolutely can. It’s not complicated. It just requires patience, which is either your strong suit or it isn’t.
Here’s everything you need to know either way.
What Is a Sourdough Starter, Actually?
A sourdough starter is a live culture of wild yeast and bacteria that you feed flour and water to keep alive. It’s what makes sourdough bread rise without commercial yeast. When it’s active and happy, it bubbles, doubles in size, and smells pleasantly tangy — like yogurt or beer, depending on the day.
When it’s unhappy, it smells like nail polish remover and sits there judging you.
The good news: it’s incredibly hard to permanently kill a starter. I say this as someone who has tried.
Option 1: Buy a Starter (The Ella Method)
I’m not going to pretend this isn’t what I recommend. If you want to skip the two-week waiting game and start baking sourdough this week, buy a starter.
I got mine from an Etsy shop — this one specifically is where I ordered mine, and there are dozens of other sellers offering dried or active starters, many of them decades old with interesting backstories. Search “sourdough starter” on Etsy and you’ll find everything from San Francisco strains to heritage starters that have been passed down through families.
What to look for:
- Good reviews mentioning active, healthy starters
- A seller who includes rehydration instructions
- Dried starters travel better than active ones if you’re ordering from far away
Once it arrives, follow the rehydration instructions, give it a few days to wake up, and you’re in business.
One more reason I went the buying route — a mature starter performs better. A starter that’s been fed and maintained for years has a well-established culture of wild yeast and bacteria. It rises more predictably, produces better flavor, and behaves more consistently than a brand new scratch starter that’s still finding its footing. I don’t know exactly how old mine was when it arrived, but it worked from the very first bake. That’s the kind of head start worth paying for.
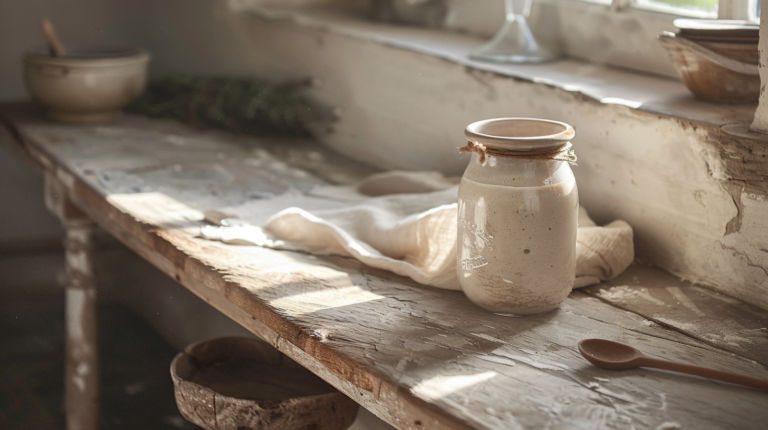
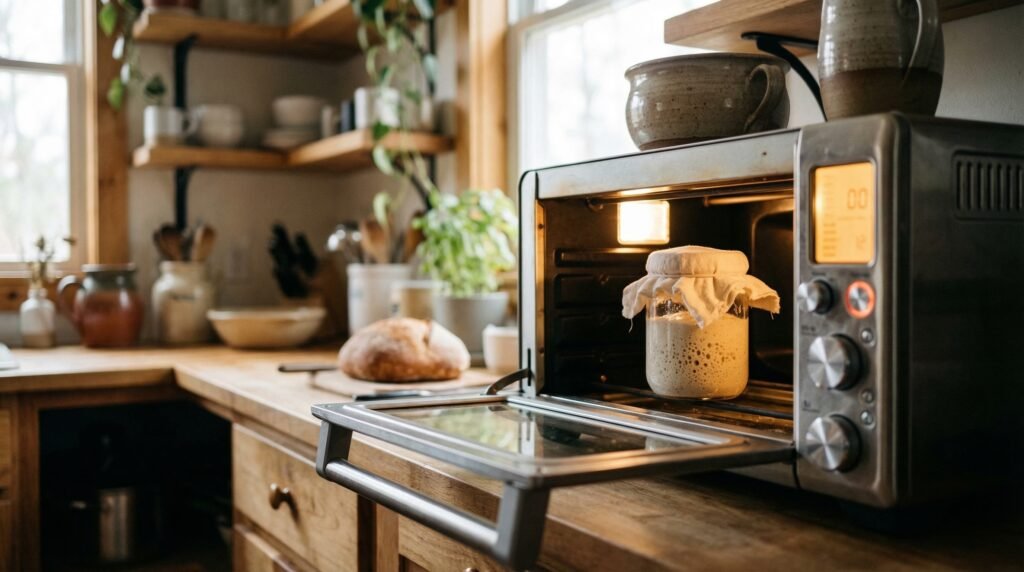
My starter jar: I use this Premium Sourdough Starter Jar Kit and honestly it’s the one thing I’d tell every beginner to buy. The mouth is wide enough to fit a 1-cup measuring cup inside — which sounds minor until you’re trying to scoop starter out of a narrow jar at 6am. It also comes with a silicone lid (not airtight — perfect), a spatula, a thermometer strip, and a feeding tracker band so you can see exactly when you last fed it. Everything you need in one kit.
Option 2: How to Make a Sourdough Starter from Scratch
If you want to do it the traditional way, here’s the honest version — no fluff, no unnecessary drama.
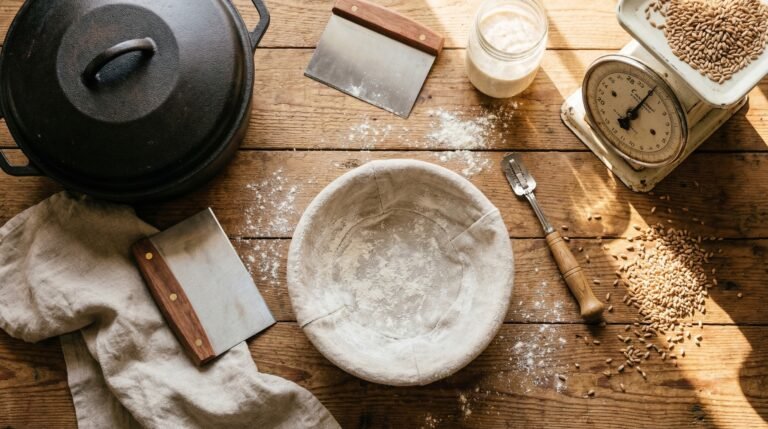
What You Need
- Flour — bread flour or whole wheat flour both work. Whole wheat tends to get things moving faster because it has more wild yeast naturally present. All-purpose works too but can be slower. I use King Arthur Unbleached Bread Flour — it’s what I recommend for starters and baking both.
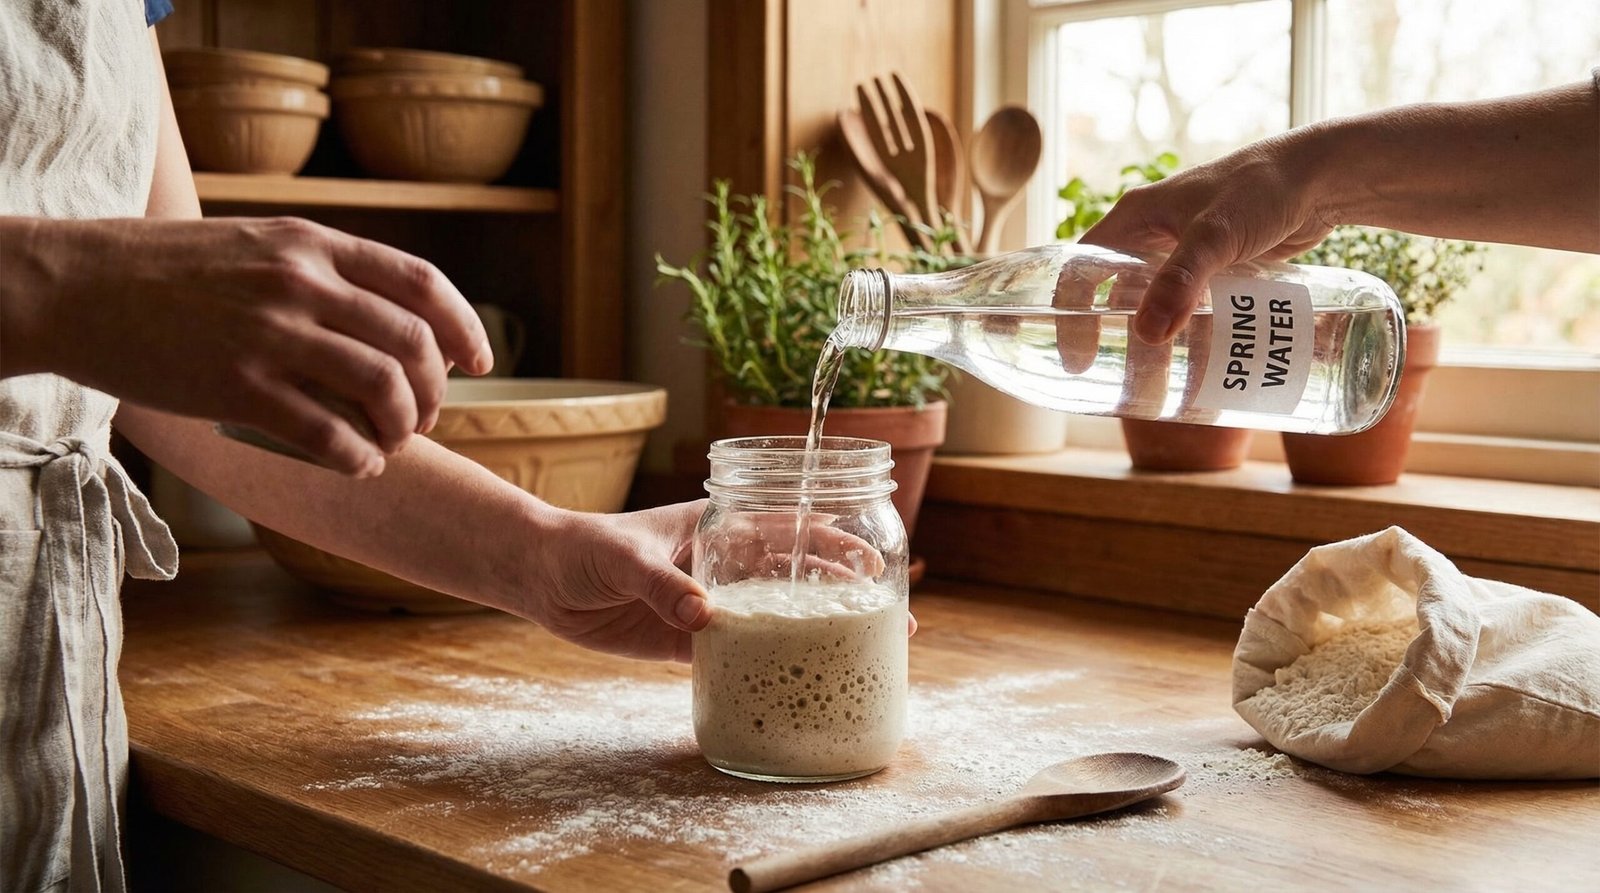
- Water — room temperature. Not hot, not cold, not straight from a softened water system. I use room temperature tap water and it works fine. If your tap water is heavily chlorinated, let it sit out for an hour first or use bottled.
- A jar — wide mouth, glass, loose lid. I use this starter jar kit — comes with everything including a spatula and feeding tracker
- A scale — you’ll want to weigh ingredients for consistency. This one is what I use
- Patience — non-negotiable
The Process: Day by Day
Day 1 Combine 50g flour and 50g room temperature water in your jar. Stir well until no dry flour remains. Cover loosely and leave at room temperature — ideally somewhere between 70-75°F. A spot on your counter away from direct sunlight works perfectly.
That’s it. Walk away.
Days 2-3 You may see bubbles. You may see nothing. Both are normal. Give it a stir, then discard half (just throw it away — yes, really), and feed it 50g flour and 50g water. Stir well, cover loosely, leave it alone.
The discard step feels wasteful but it’s important — it keeps the acid levels balanced so your starter doesn’t get too sour too fast and slow itself down.
Days 4-5 By now you should be seeing some activity — bubbles, maybe some rising. Keep discarding half and feeding daily with 50g flour and 50g water. If you’re not seeing much activity, try moving your jar somewhere slightly warmer. Starters are like cats — they have opinions about temperature.
Days 6-7 Your starter should be visibly active — bubbling within a few hours of feeding, doubling in size, smelling tangy and yeasty. This is what you’re waiting for.
The float test: Drop a small spoonful of starter into a glass of water. If it floats, it’s ready to bake with. If it sinks, give it another day or two.
Days 8-14 Some starters take longer, especially in cooler kitchens. Keep feeding daily and don’t panic. If it’s alive and bubbling, it’s working — it just needs more time to build strength.
How I Feed My Starter
Once your starter is established, here’s my routine:
The ratio: I use a strict 1:1:1 ratio — equal parts starter, flour, and water by weight. Specifically I do 50g starter, 50g bottled water, and 50g flour. I use bottled water for feeding my starter specifically — the chlorine in tap water can interfere with the live culture over time. For the actual bread dough, tap water is fine. That’s it. I keep my amounts small on purpose — there’s not much left over so there’s very little waste, and I’m not drowning in discard every week. Simple, consistent, works every time.
When I feed: Right after I use it to make a loaf. If I’m not baking, every few days is fine when it’s living in the fridge. If it starts looking tired — flat, watery layer on top (that’s called hooch), not bubbling much — I’ll feed it twice a day for a couple of days to perk it back up.
Where I store it: In the fridge between bakes. This slows the fermentation way down so I’m not on a daily feeding schedule. When I want to bake, I pull it out the night before, feed it, leave it on the counter overnight, and it’s ready to use in the morning.
The fridge method is the rebel baker approach. The purists will tell you to keep it on the counter and feed it twice a day. That works too — if you want another living thing on your counter demanding attention twice a day. I have horses, cows, chickens, dogs, cats, a bird, and a guinea pig. My starter lives in the fridge.
Why Starters Die (And How to Avoid It)
I have killed starters in the following ways:
Forgetting to feed them. If a starter goes too long without food, the yeast dies off and the bacteria takes over completely, producing too much acid and eventually just giving up. If yours has been neglected for weeks, don’t throw it out — scrape off the top layer, feed it, and give it a few days to recover. They’re more resilient than you think.
Using the wrong water. Heavily chlorinated water can inhibit yeast growth. If your starter isn’t taking off, try switching to bottled or filtered water and see if that makes a difference.
Leaving it in the sun. Direct sunlight heats the jar unevenly and can kill the culture. Keep it somewhere cool and consistent.
Using hot water. Hot water kills yeast. Room temperature only.
Being impatient and declaring it dead. The most common mistake. Give it two full weeks before you give up.
The Hooch Question
If you open your starter jar and find a dark liquid floating on top — that’s hooch. It’s alcohol produced by the starter when it’s hungry. It looks alarming. It smells like beer or nail polish remover depending on how hungry it is.
It’s not dead. It’s just dramatic.
Pour off the hooch or stir it back in (stirring it in makes for a more sour loaf), then feed your starter as normal. It’ll bounce back within a day.
Frequently Asked Questions
One More Thing
Four years ago I bought a starter from a stranger on the internet and felt slightly ridiculous about it.
That starter has made hundreds of loaves. It’s fed my family, impressed my neighbors, and survived things I’m not proud of. It lives in my fridge, gets fed when I bake, and asks nothing of me the rest of the time.
If you want to make yours from scratch, do it — it’s a satisfying process and there’s something genuinely cool about building a living culture from nothing but flour and water.
But if you want to skip straight to the baking, buy one. There’s no shame in it. The bread doesn’t know the difference.
You just committed to keeping a jar of fermented flour alive on your counter. Respect. That level of dedication is honestly all you need to build something online too. I started selling AI-designed digital products on Etsy a while back — mostly because ranch life doesn’t exactly come with a 401k. Turns out it’s a pretty good fit for people who are already used to doing things on their own schedule, in their own kitchen, with flour on their shirt. Here’s what I use if you’re curious — it keeps getting better and I genuinely like it, which is more than I can say for my starter’s first two weeks.
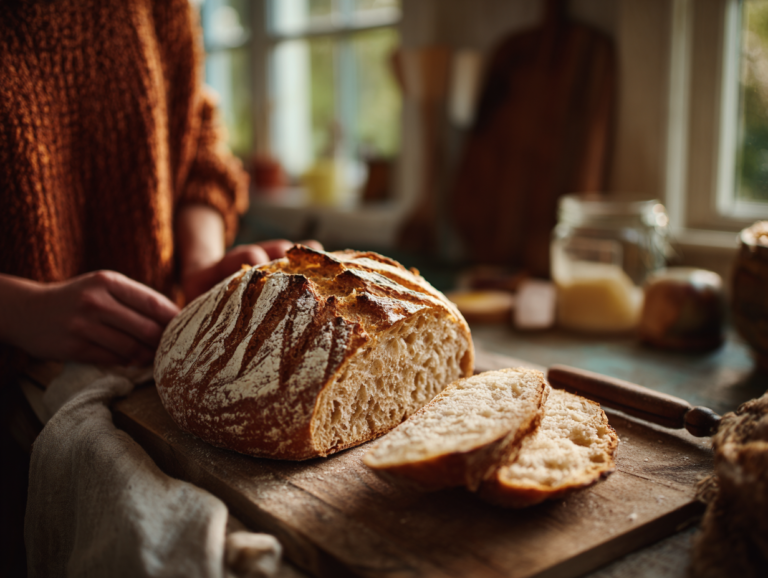
Ready to bake your first loaf? Start here: Sourdough for Beginners: The Simple Method That Actually Works →